Panchase Trek in Nepal: A Complete Travel Guide
Off-the-beaten-path hiking in the Annapurna region near PokharaWhat is the Panchase Trek?
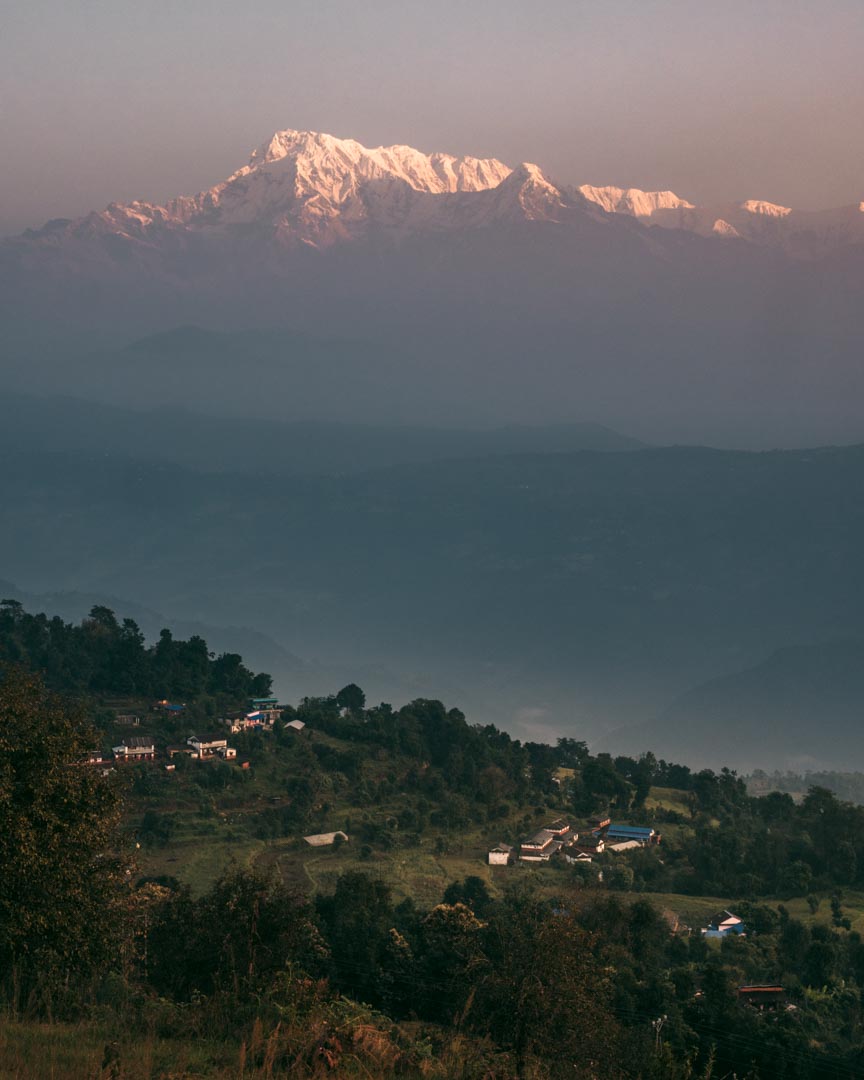
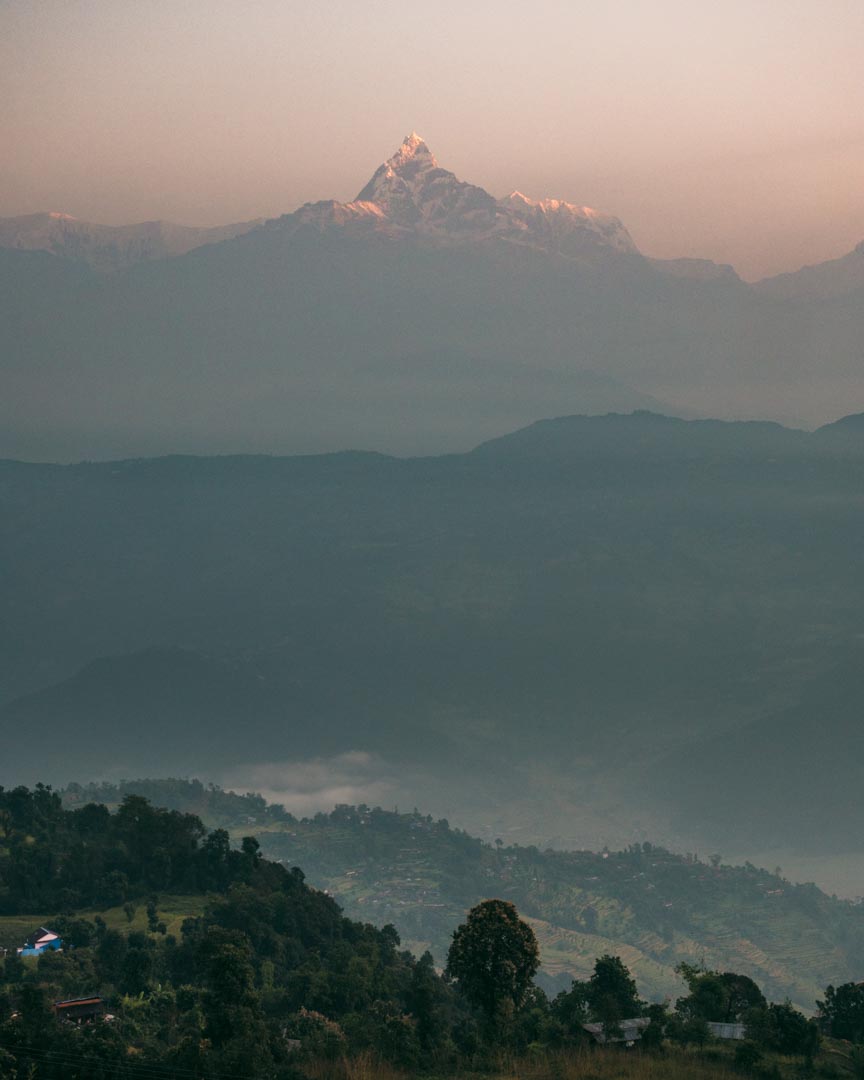
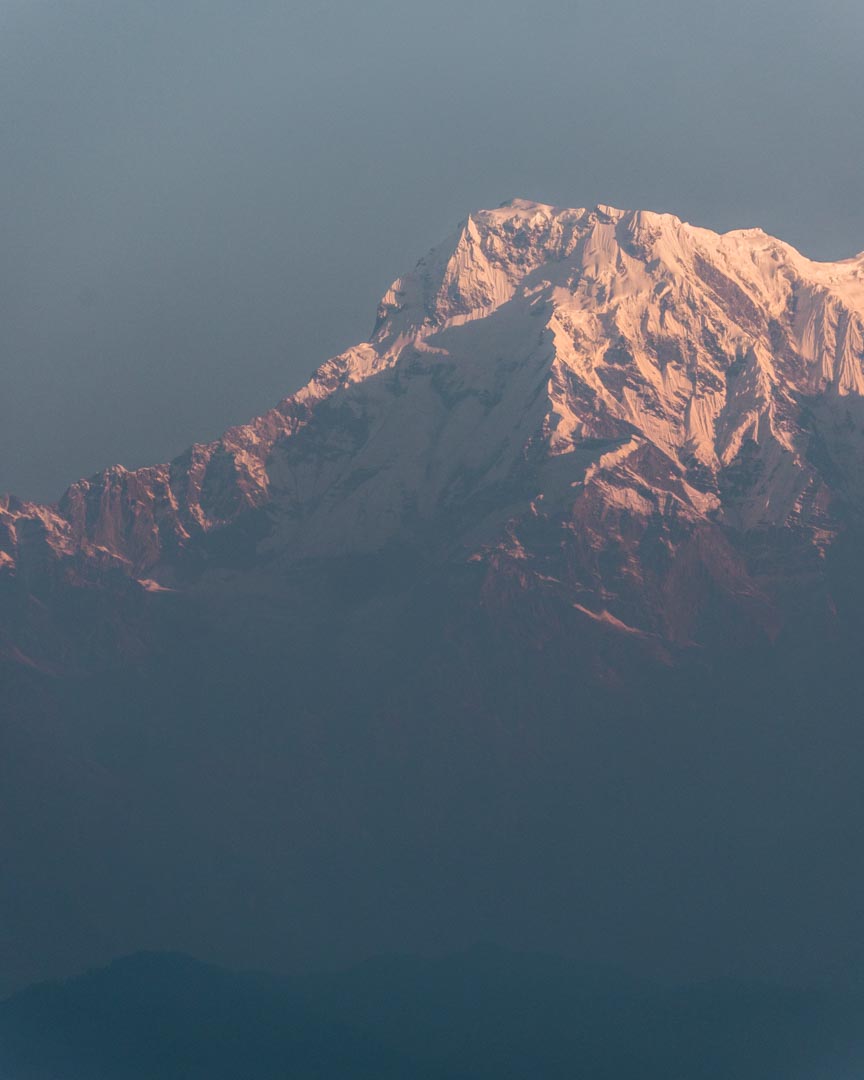
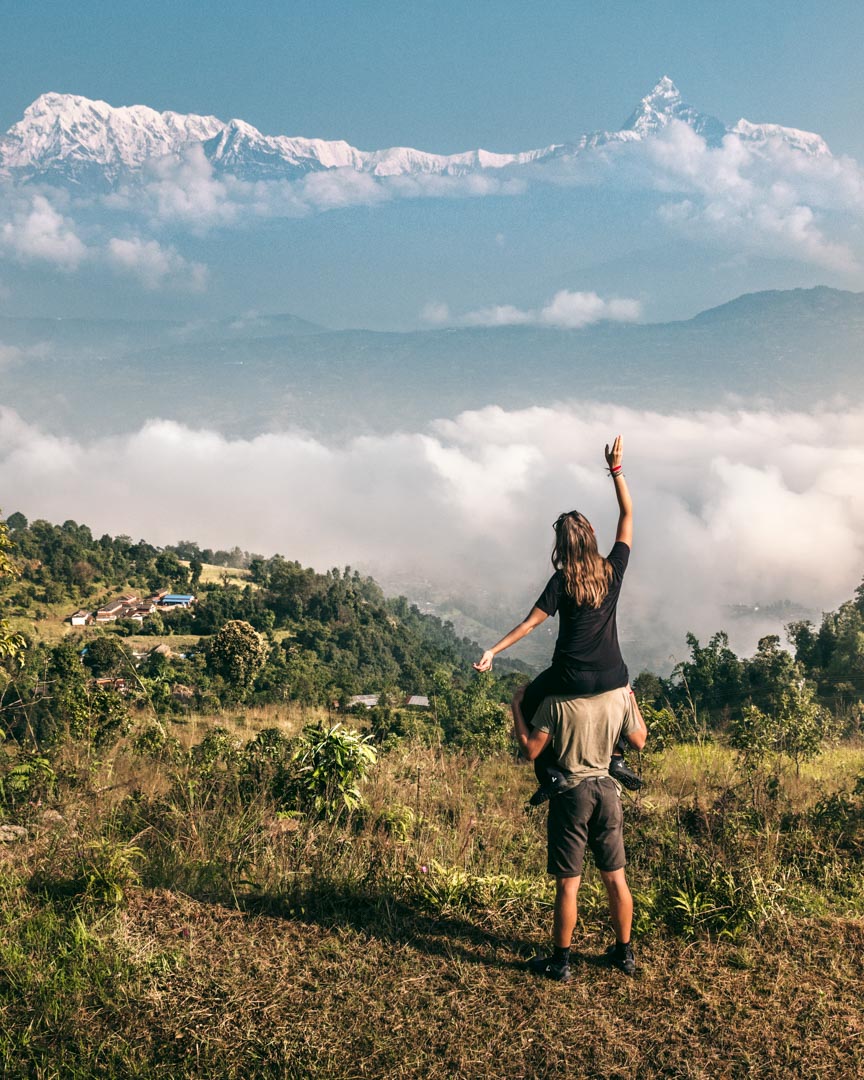
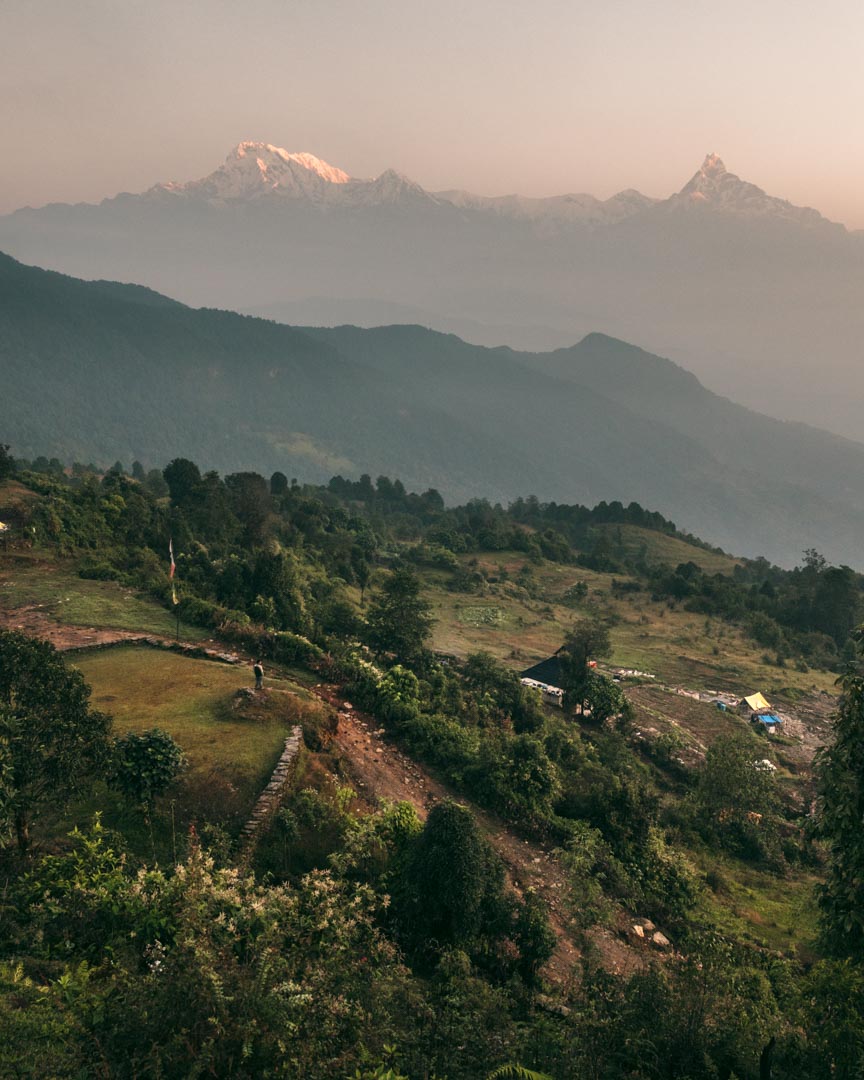
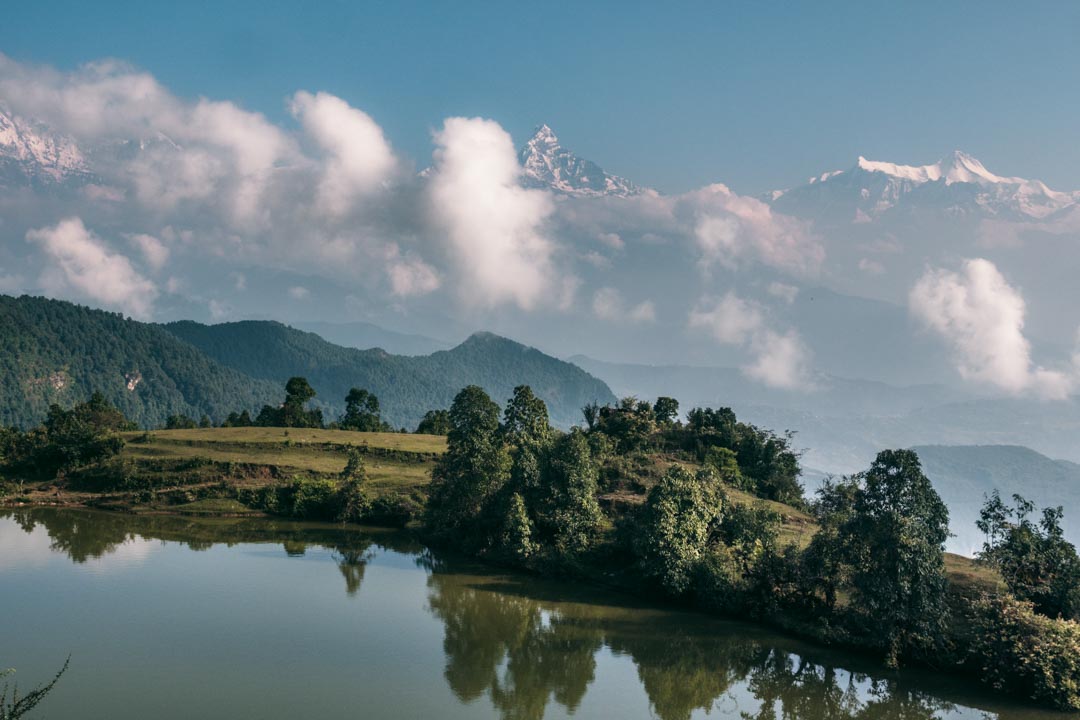
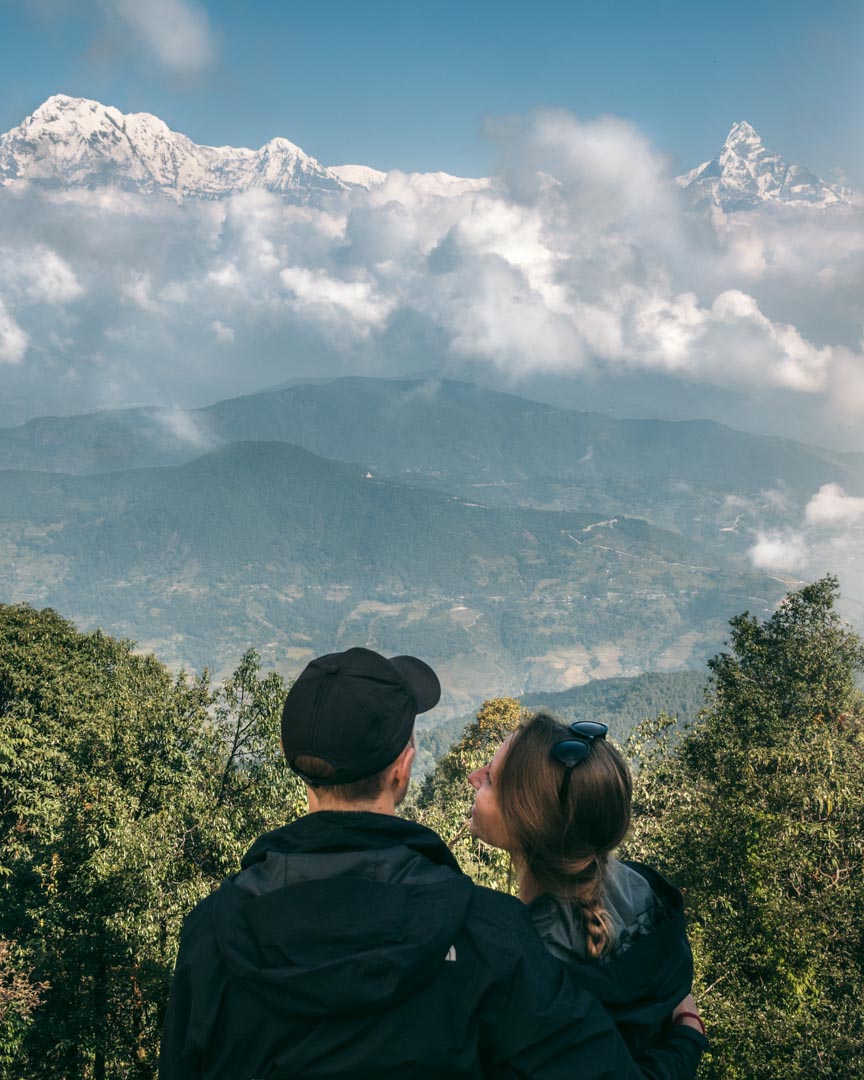
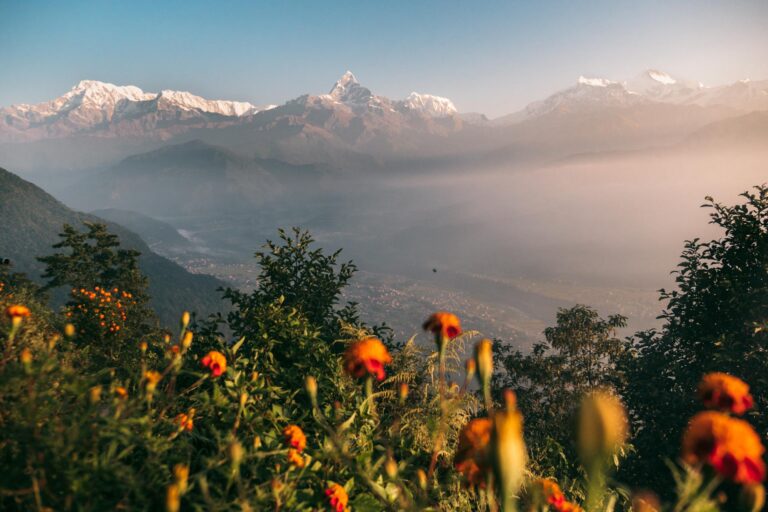
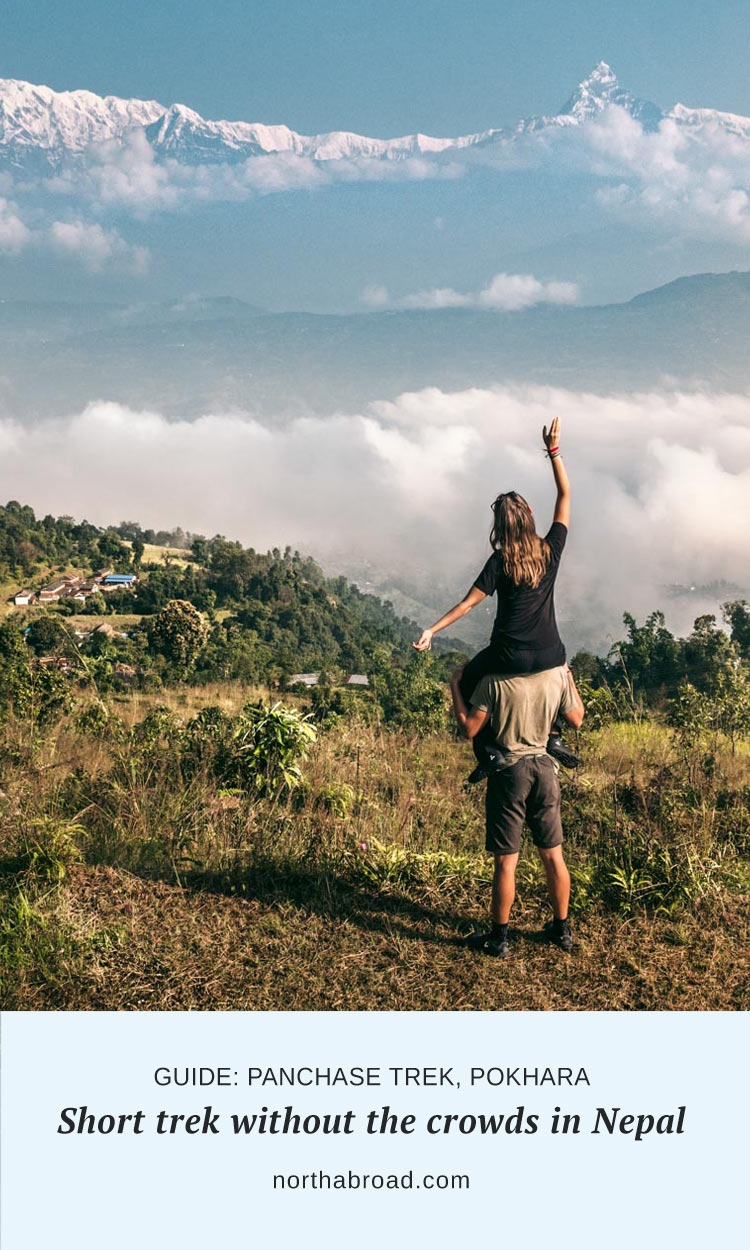
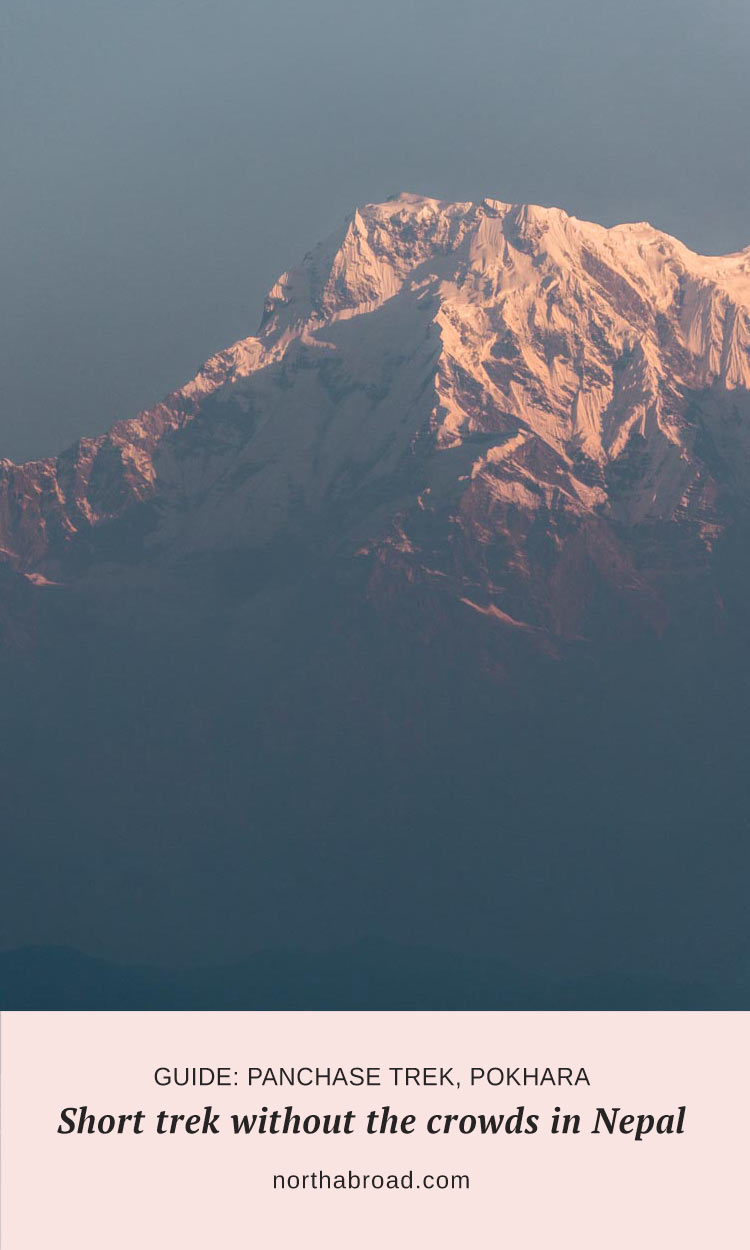
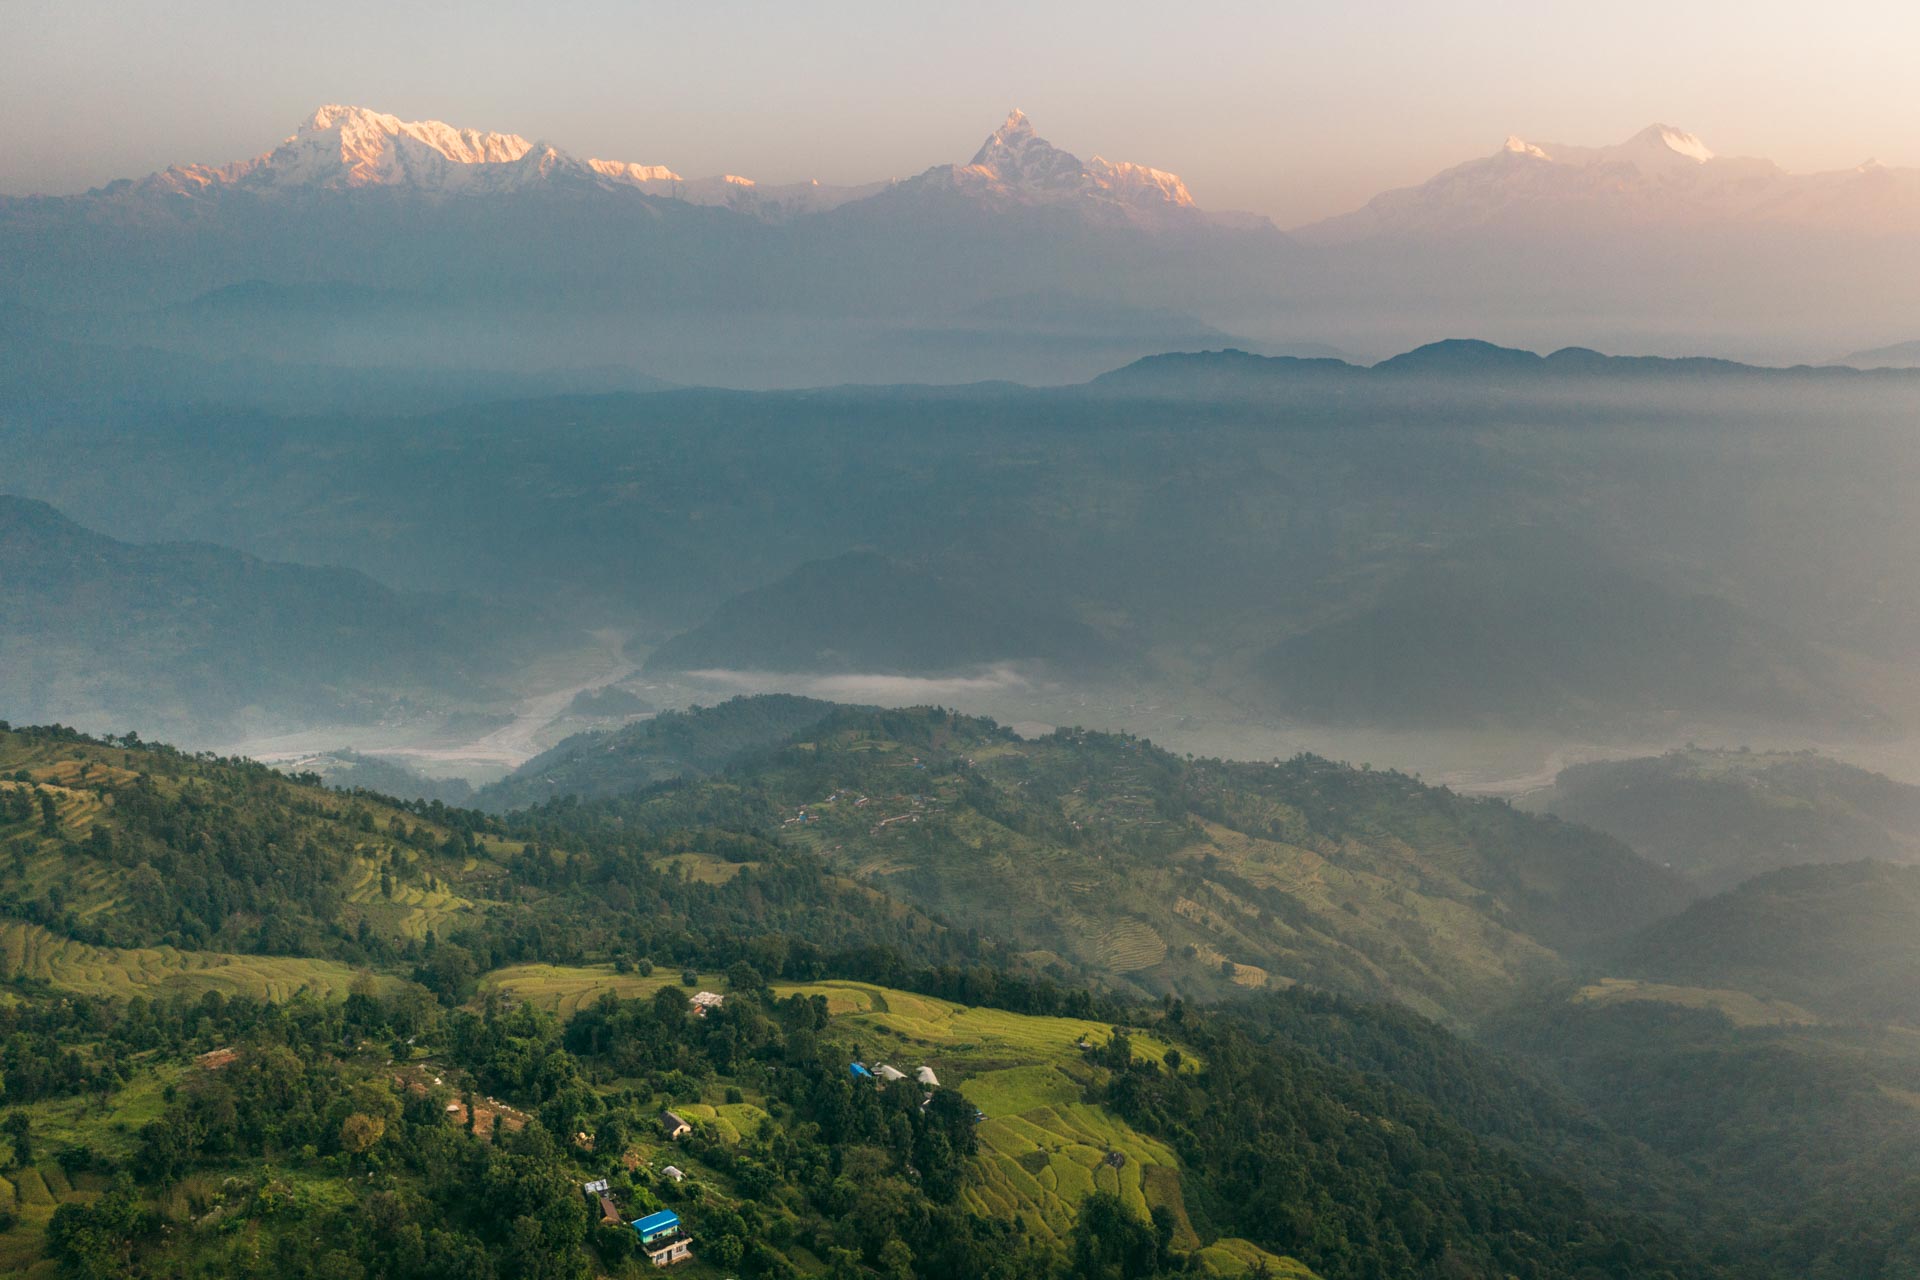
The focal point of the Panchase Trek is reaching Panchase Peak (2,500 metres above sea level) which provides great views of the amazing Annapurnas.
This is a great entry-level hike for the Himalayas as it’s possible to do it quite quickly and without prior acclimatization.
There are several different routes to choose from and therefore also options for everything from spending just a single night to trekking for multiple days. We’ll outline these options further down.
We did a 3 days/2 nights version starting and ending in Pokhara and reaching the peak on the morning of the third day – before a very long walk down.
Where to stay in Pokhara:
- Luxury: The Pavilions Himalayas – Probably the best place to stay in Pokhara.
- Value for money: Three Jewels Boutique Hotel – Comfortable rooms at great value.
- Budget: Sacred Valley Inn – Cheap but without private bathrooms.
Search for the best value accommodation in Pokhara here.
Table of contents
- Panchase trekking off the beaten path
- Level of fitness required for the Panchase Trek
- Our Panchase Trek itinerary
- Panchase Trek itinerary options
- Typical prices and budget for the Panchase Trek
- Best time to go on the Panchase trek
- What to bring on the Panchase Trek
- How to book the Panchase Trek
- Minimise your impact
Map
(Don’t trust Google Maps with the exact locations).
Panchase trekking off the beaten path
Even though the Panchase Trek is one of the few treks that practically starts in the traveler-friendly city of Pokhara, it is relatively unknown compared to classics like Annapurna Base Camp (ABC), Annapurna Circuit and Poon Hill.
We visited Nepal in October (peak tourist season!) and barely met any other trekkers on the trails during our 3-day Panchase Trek.
This was definitely not the case with our Mardi Himal trek, which isn’t even that popular to the three above-mentioned ones.
On our first day, we started a little late and didn’t meet a single tourist before we reached our tea house/homestay in the evening – where we met just one other couple.
Day 2 was the same and here we only met a woman trekking solo.
We did meet a couple of other people in the Panchase Village and on the peak, but not many.

Level of fitness required for the Panchase Trek
Determining what kind of fitness you need to be able to do a specific hike or trek is always incredibly difficult.
Often it’s not the case of whether or not you’ll be physically able to make it, but rather about how much you’ll enjoy it.
For Nepal, the Panchase Trek is relatively easy because it is so short. You probably won’t build up much fatigue if you do the three-day option as we did.
The Panchase Trek is not a walk in the park. It is by no means suited for the walking impaired.
But if you’re interested in trekking in Nepal, you probably already know this. To our knowledge, no trek in Nepal really fits that description.
It other words, what might be dubbed a “strenuous” hike in a national park in the United States might not even make the “easy” rating in Nepal simply because the audience is so different.
If you’re unsure whether or not you’re fit enough to do the Panchase trek, take the following into account:
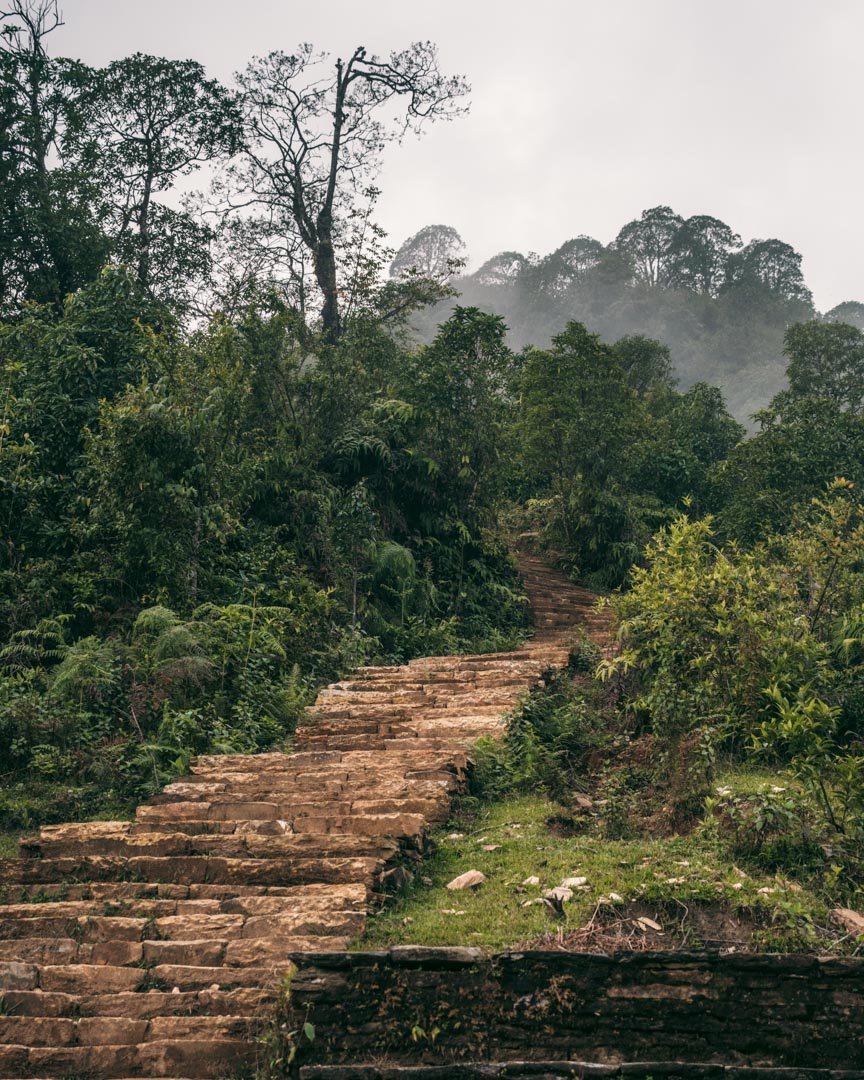
- There is a lot of stair climbing involved.
- You’ll gain more than 1,700 metres of elevation which you also have to descend again.
- Walking through the forest can be slippery.
- You’ll be on your feet for several hours, usually for several days in a row.
- If you just want to reach the peak, it’s possible to get a jeep to and from the Panchase Village, leaving just about 700 metres of elevation gain and subsequent loss to your legs.
To conclude, we wouldn’t say that the Panchase Trek is neither particularly easy nor family-friendly.
It might be one of the easier hikes in terms of total length and elevation gain/loss near Pokhara, but this doesn’t make it effortless!

Our Panchase Trek itinerary
Day 1
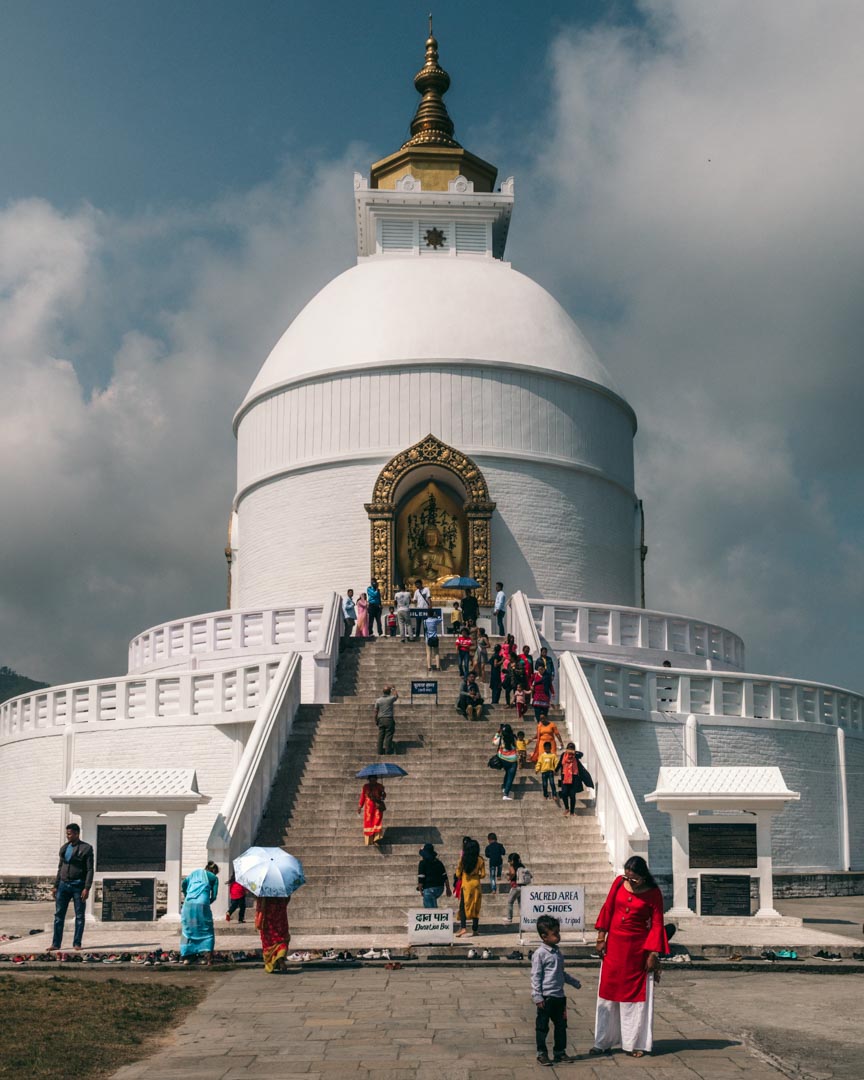
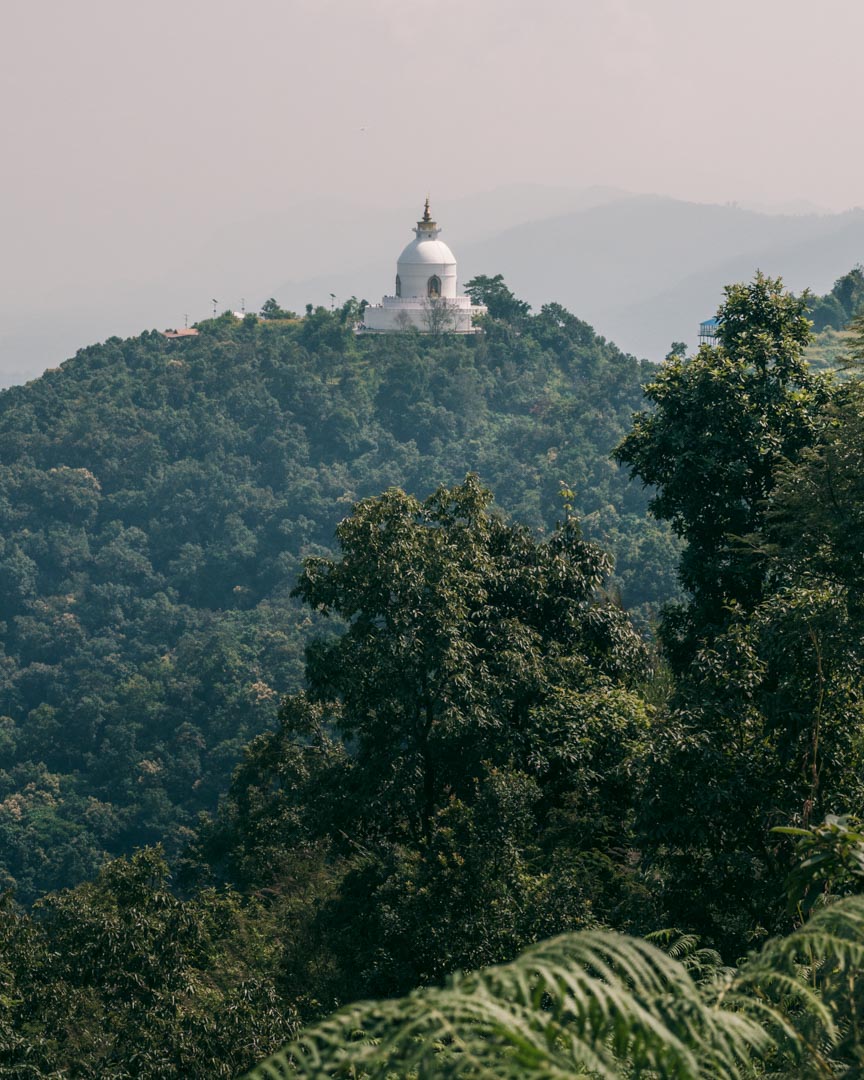
World Peace Pagoda
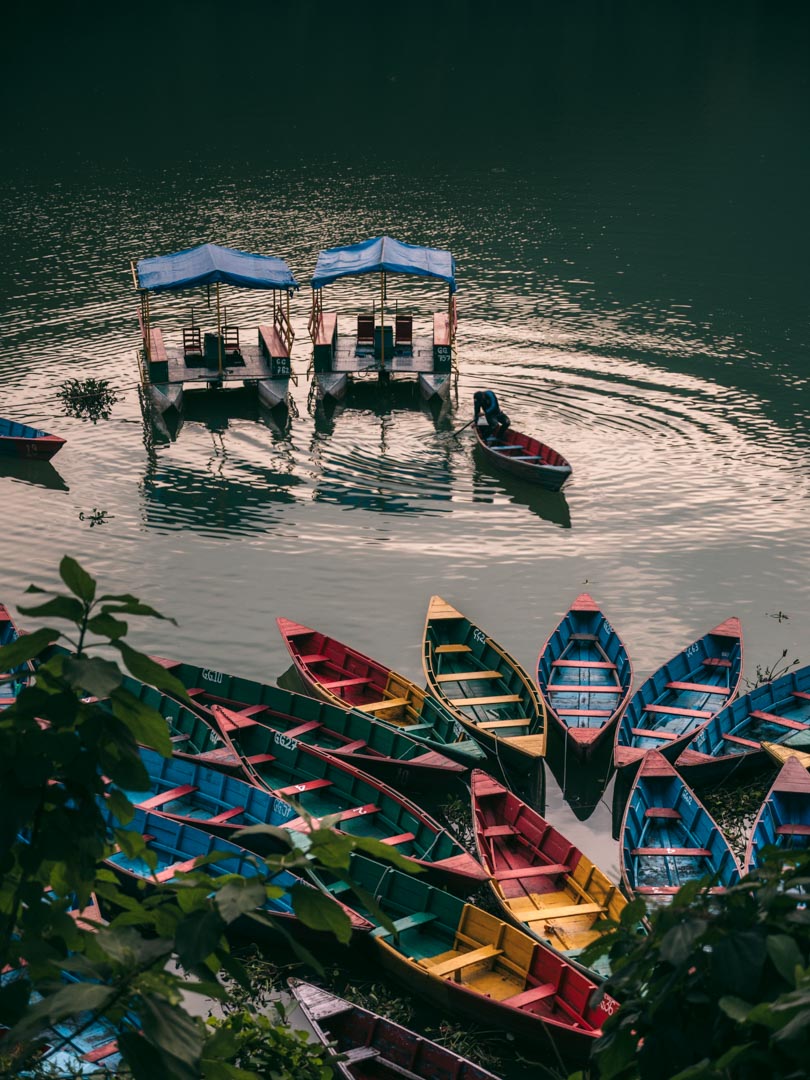
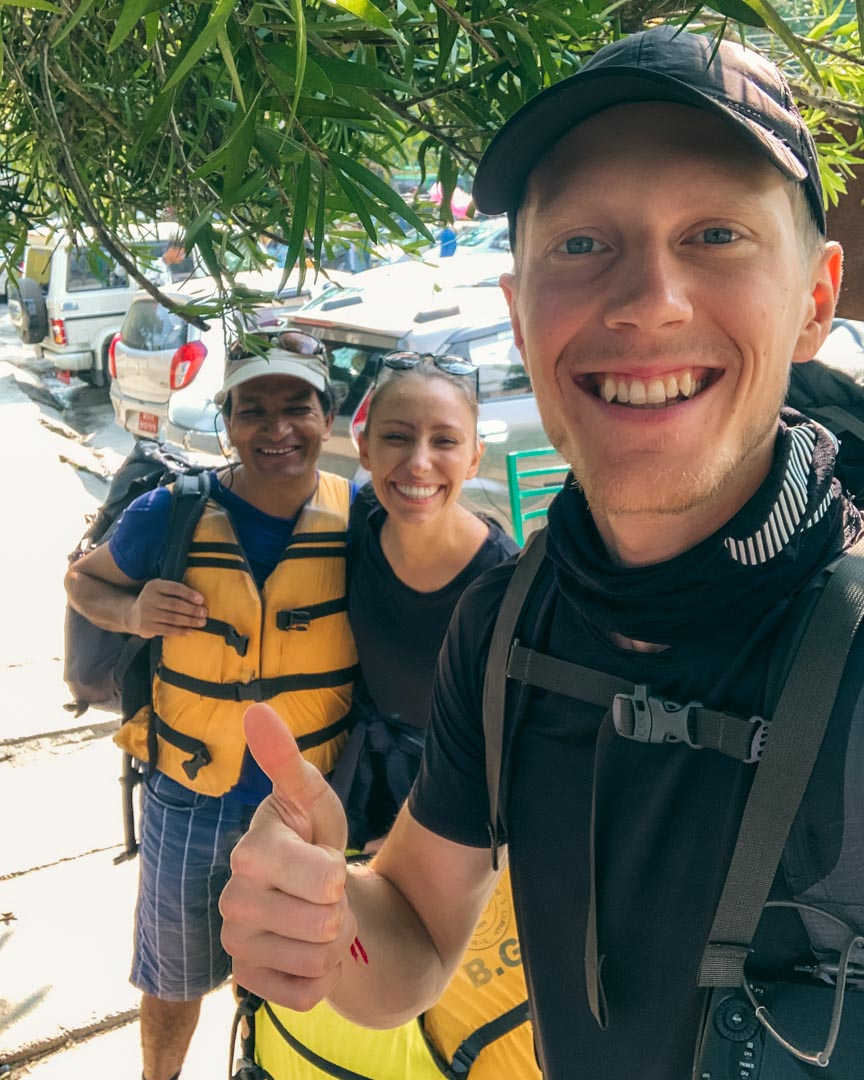
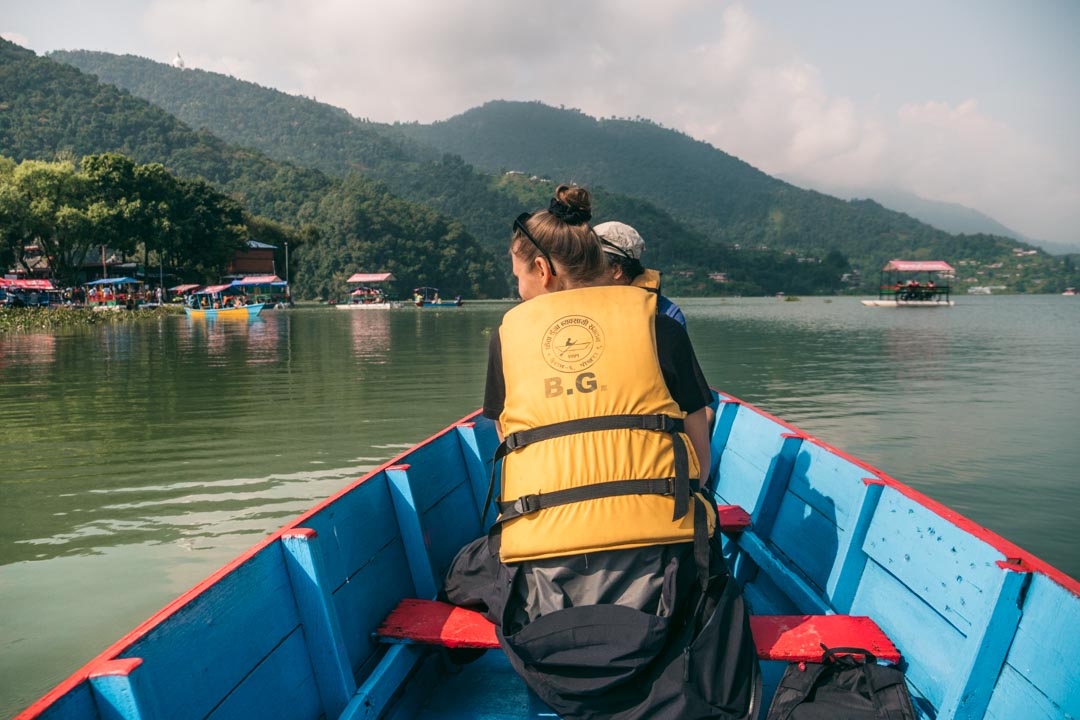
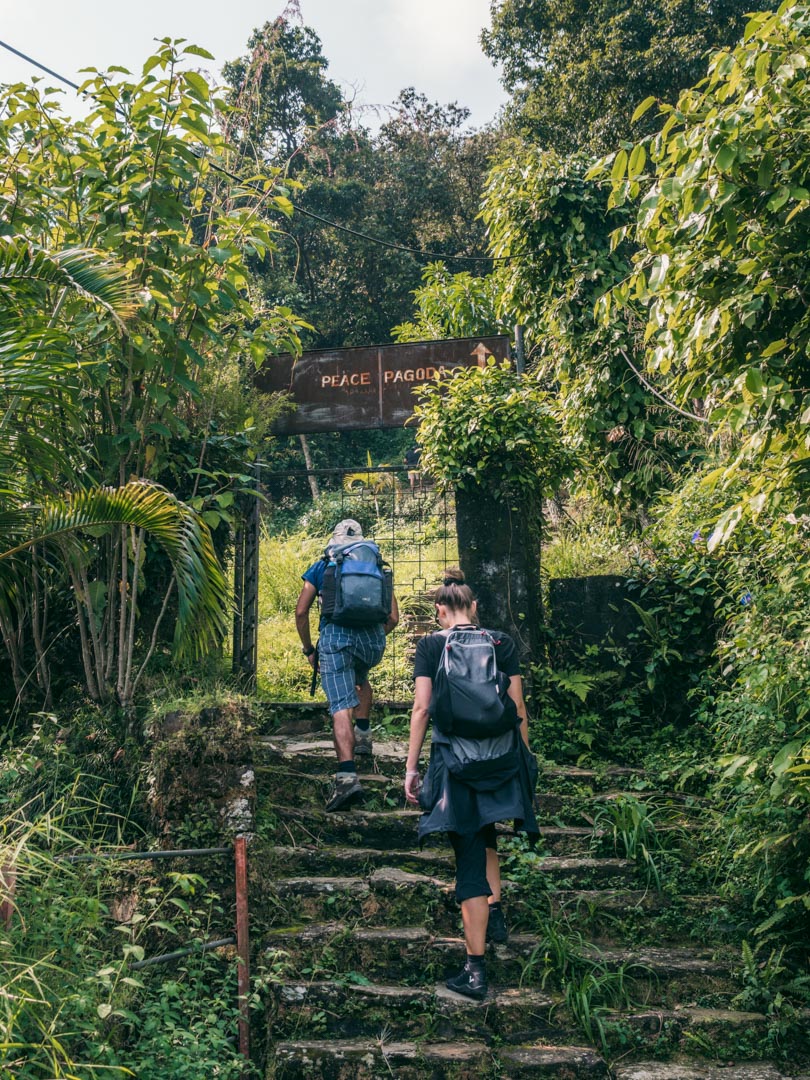
After breakfast in Pokhara, we sailed across Phewa Lake to where we started trekking up to the World Peace Pagoda.
It’s pretty steep going up there, but not too far; we spent about 45 minutes to an hour going up.
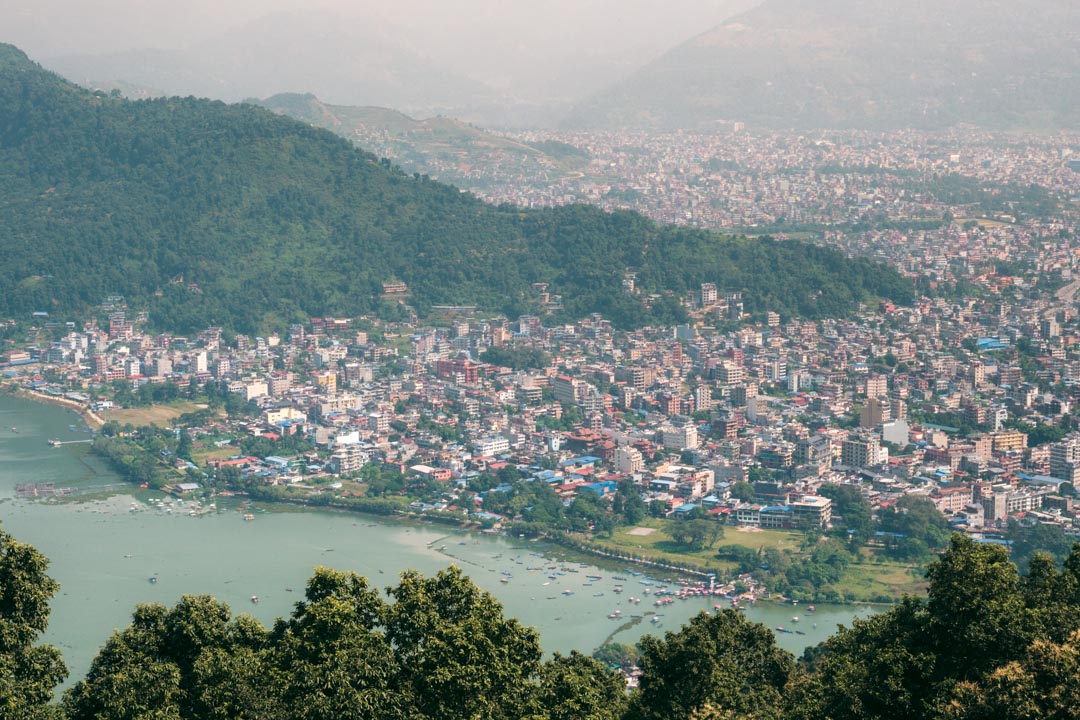
The views from the Peace Pagoda are really impressive – especially since this was the first time we saw more than just the top of the peaks of the Annapurna massif.
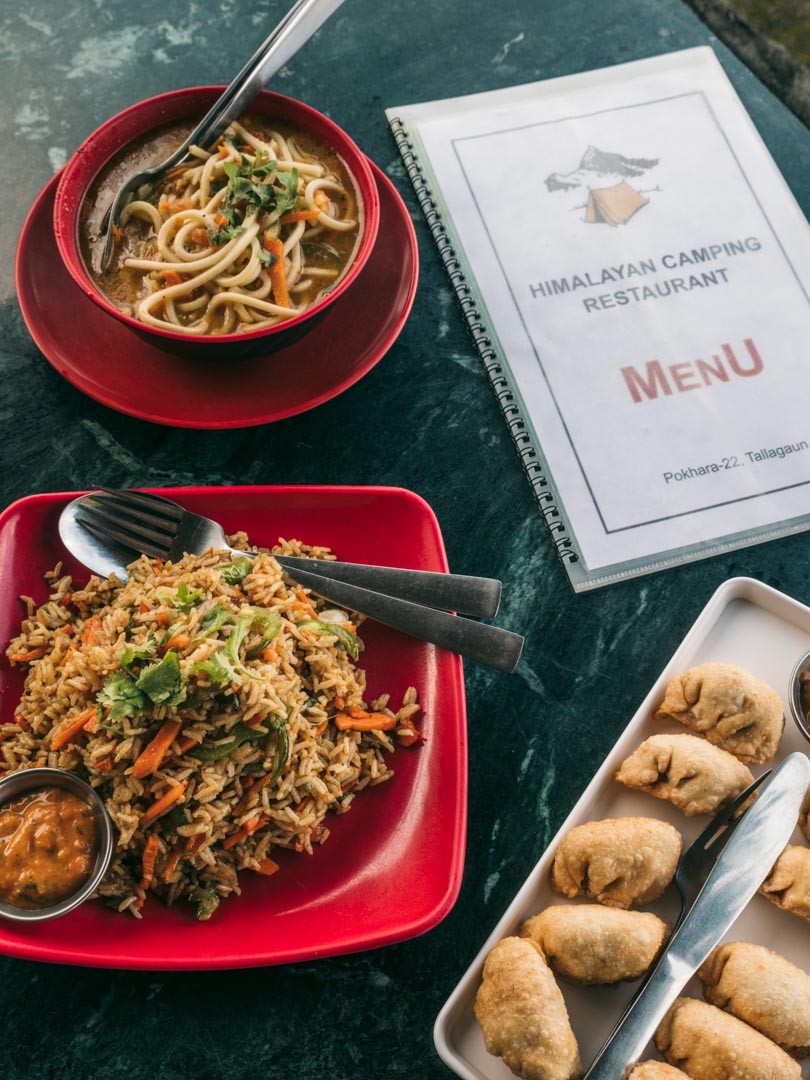
From the pagoda, it’s a pretty short walk to the restaurant where we ate lunch (aka dal bhat).









The walk to Bumdi
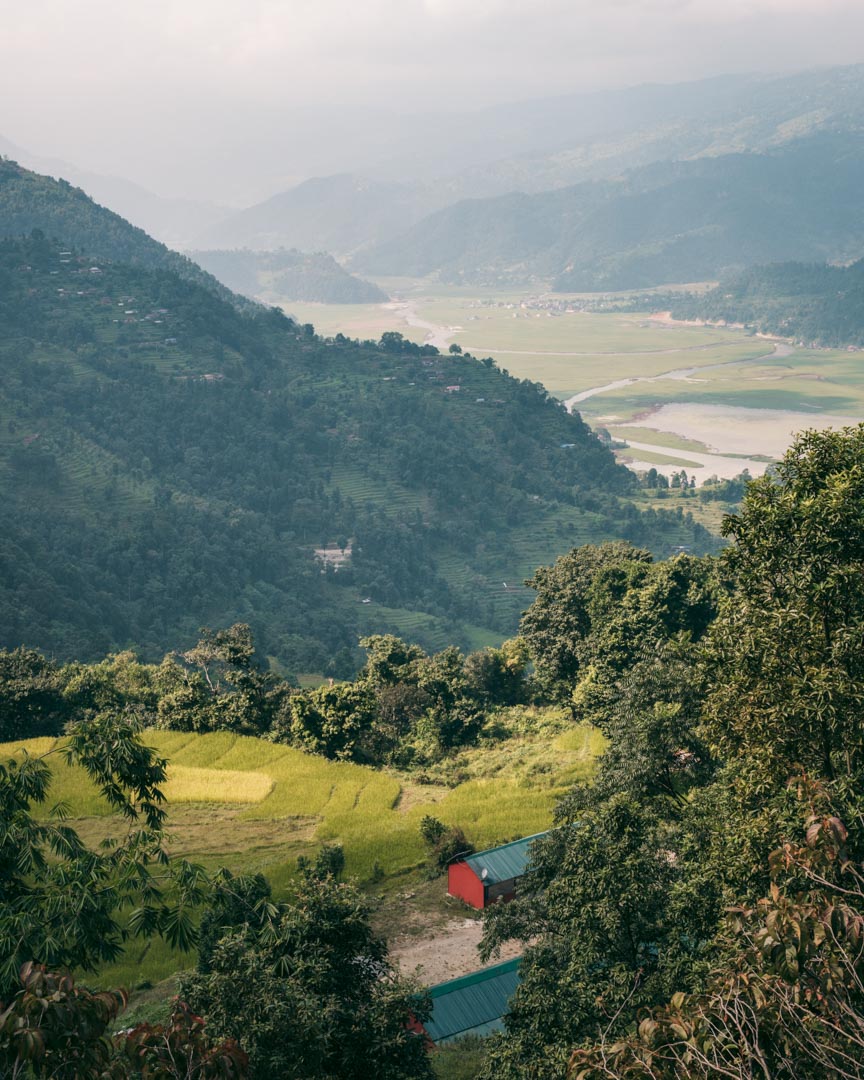
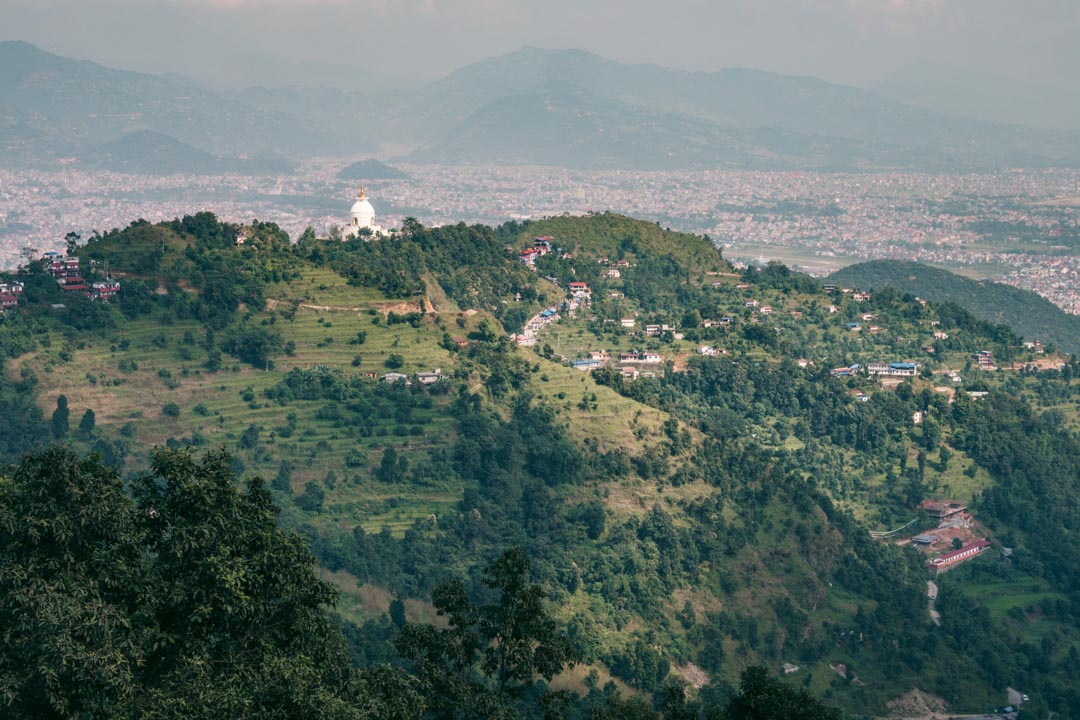
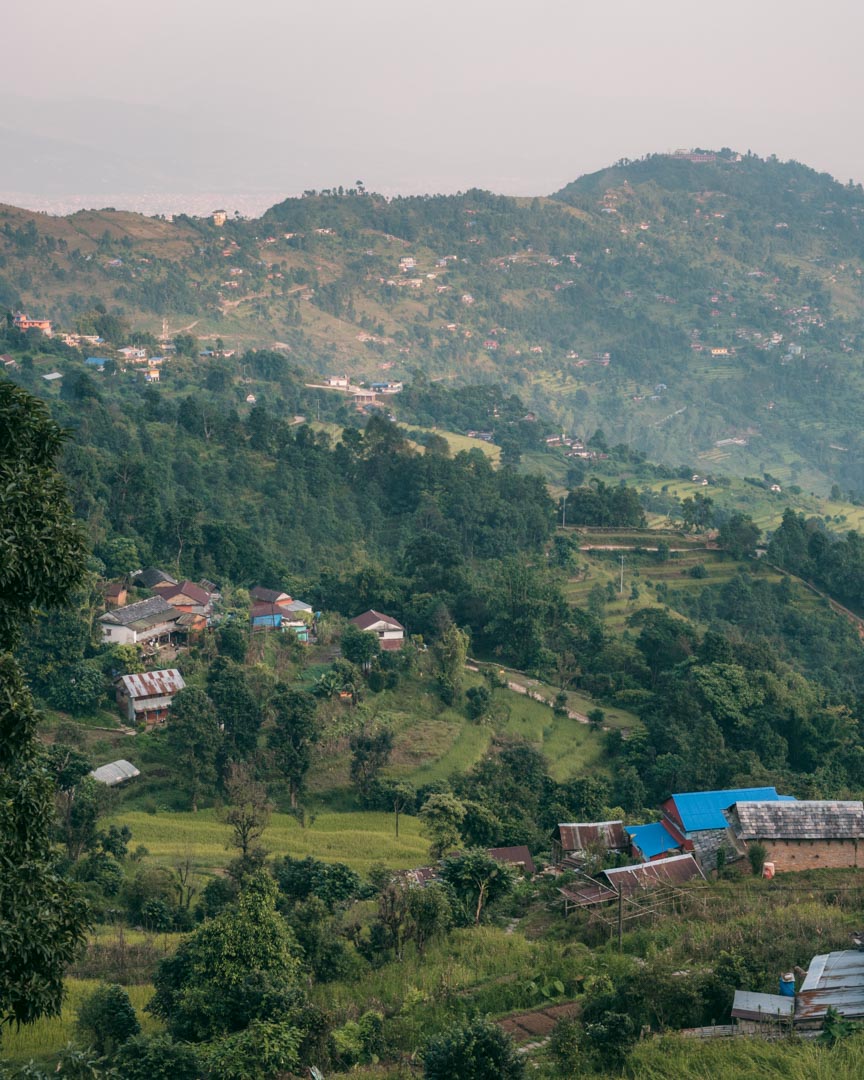
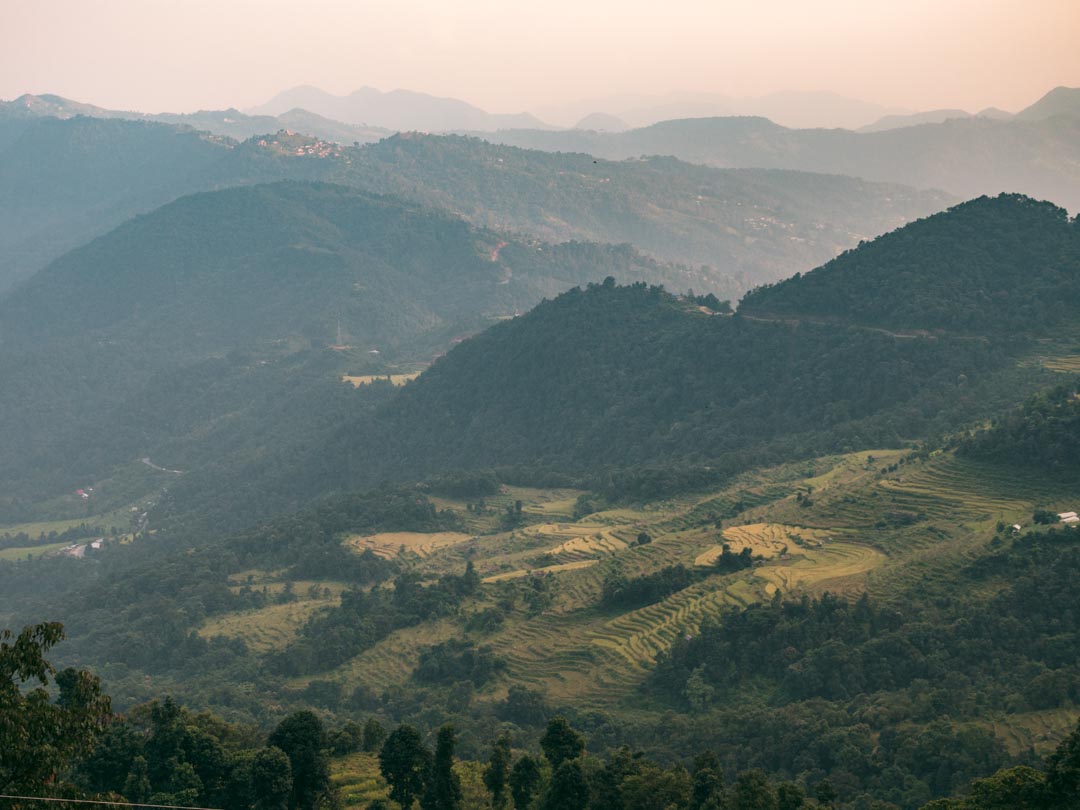
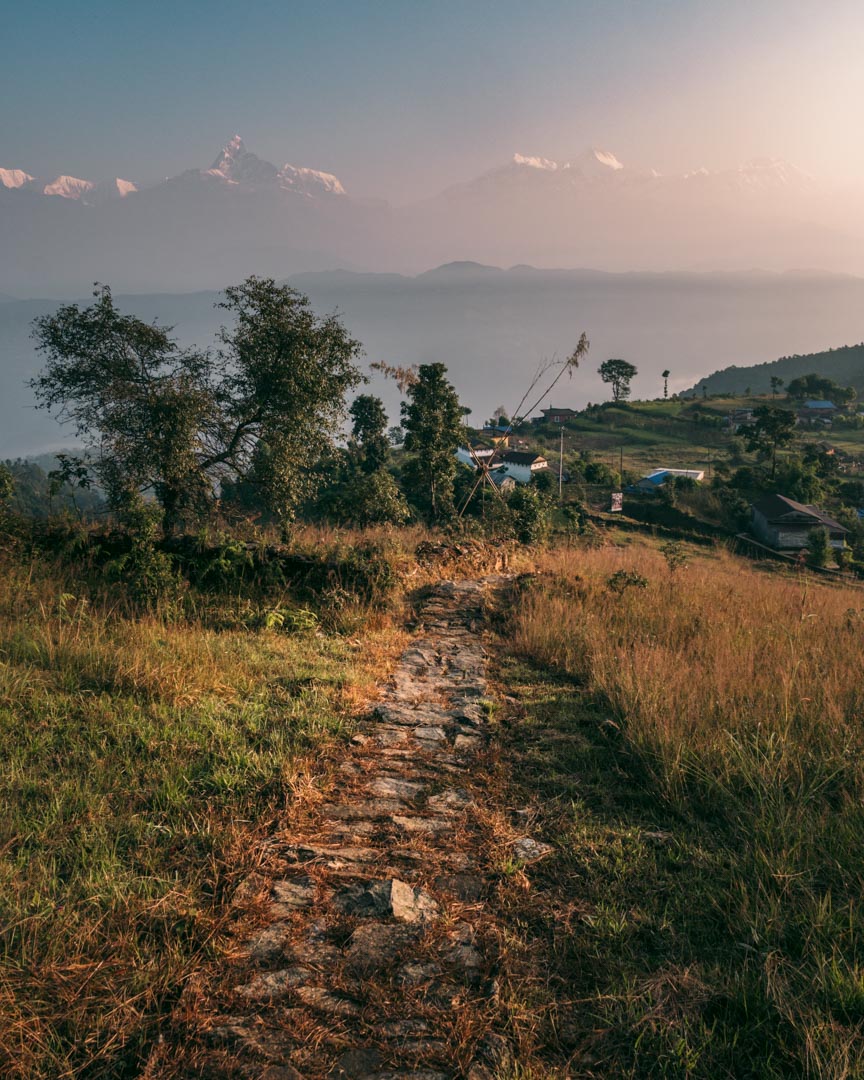
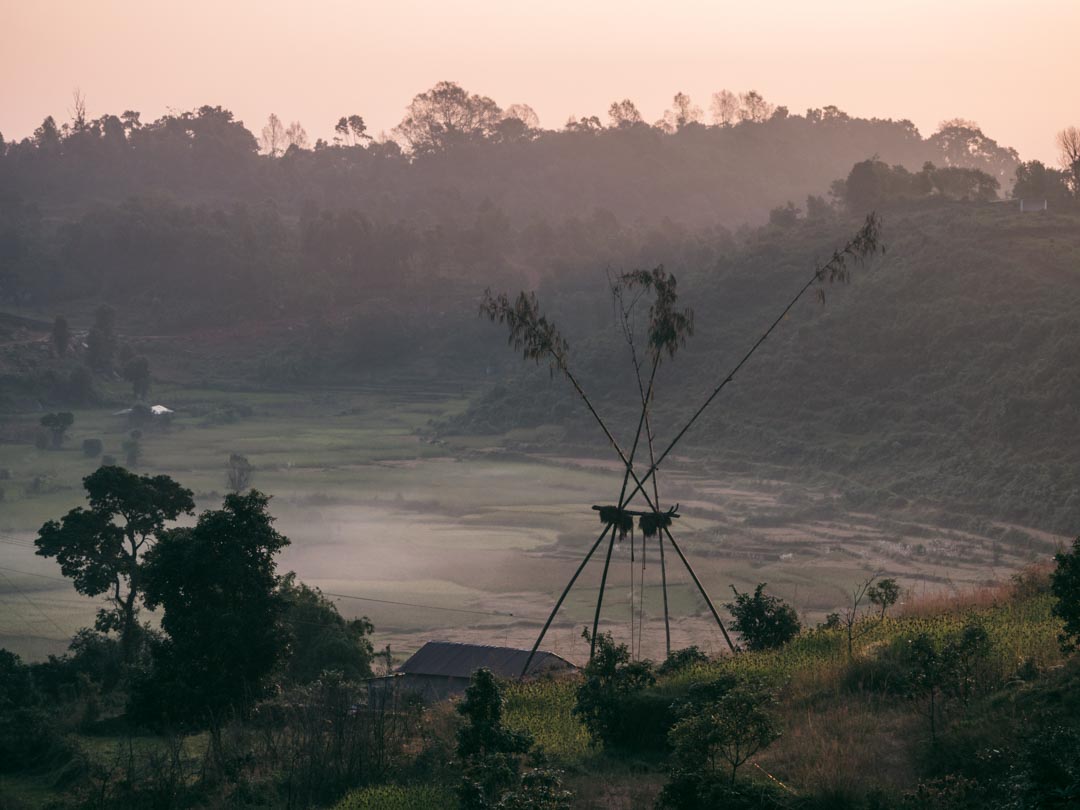
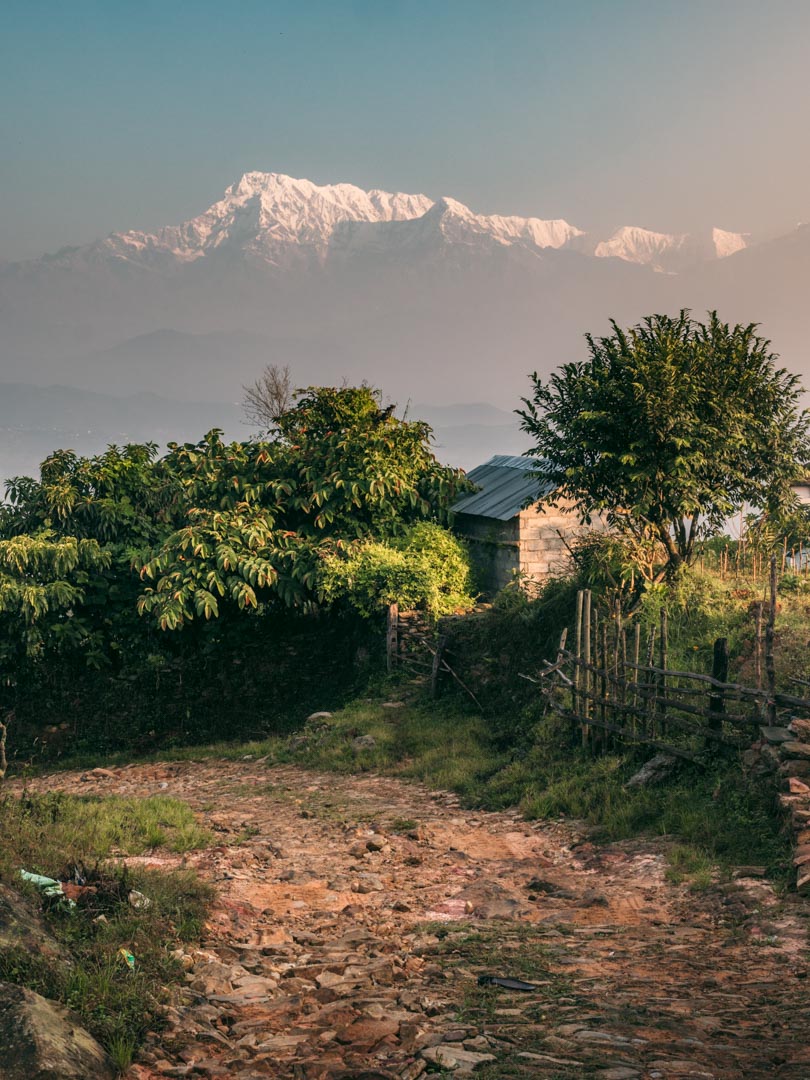
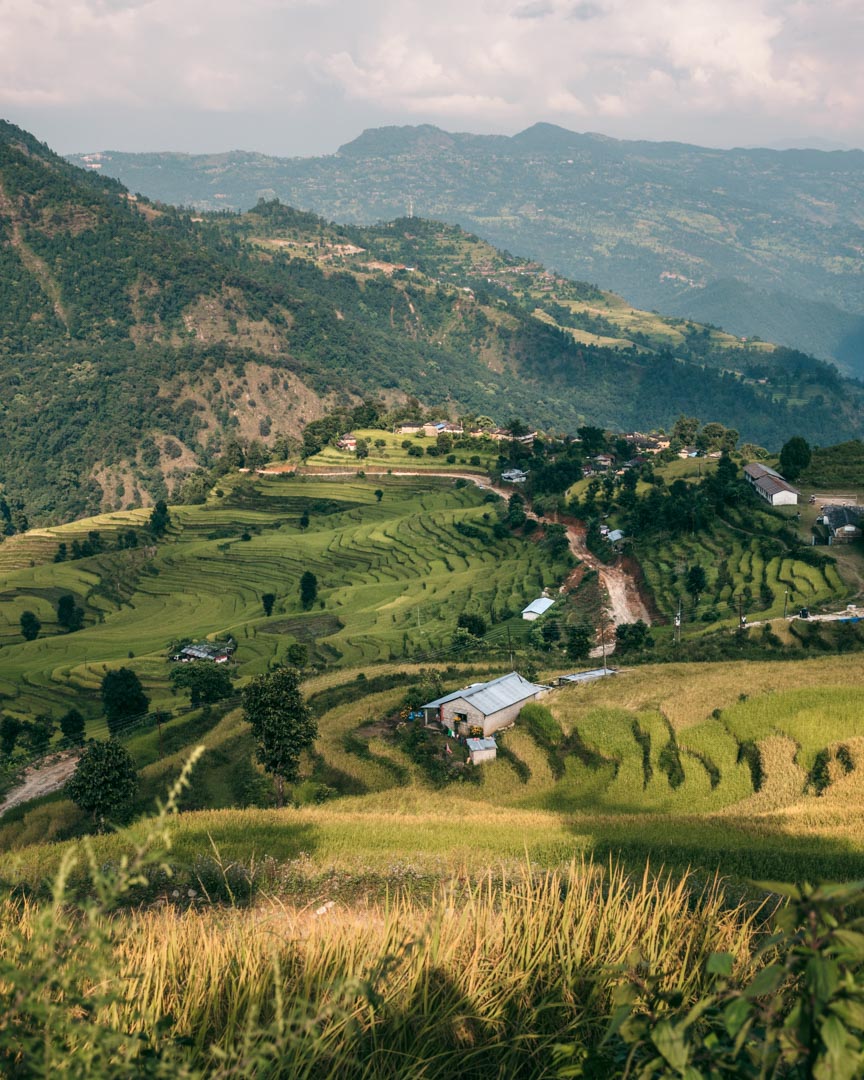
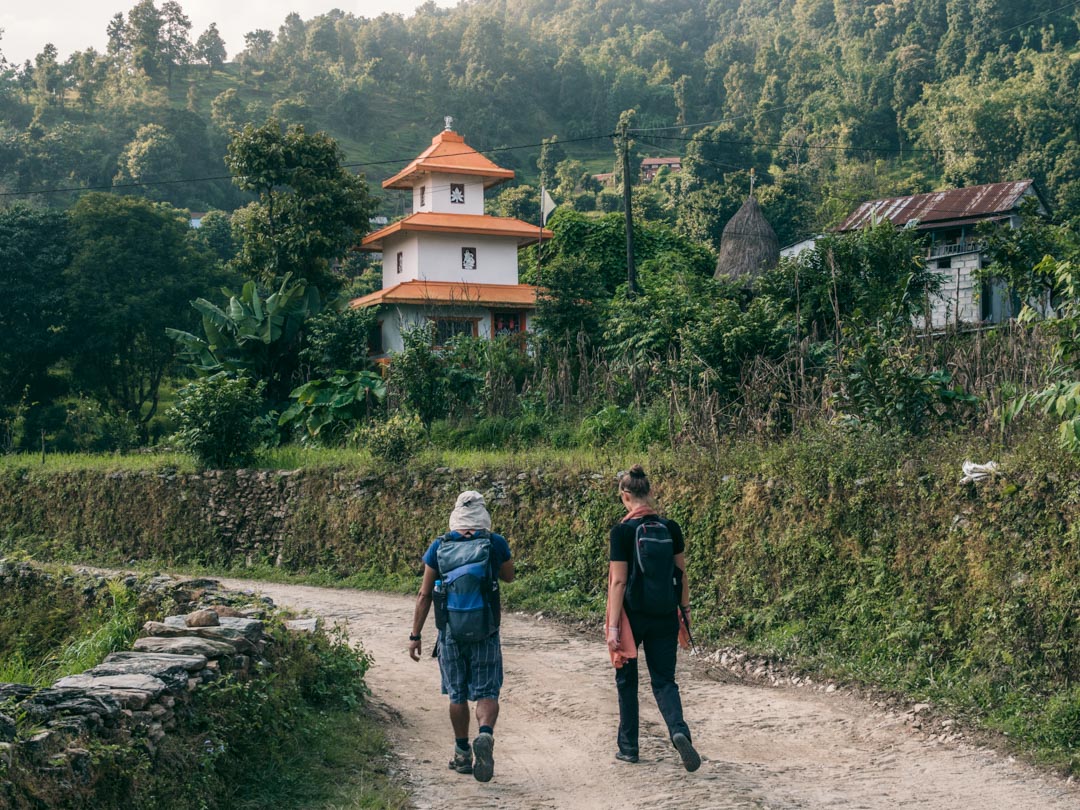
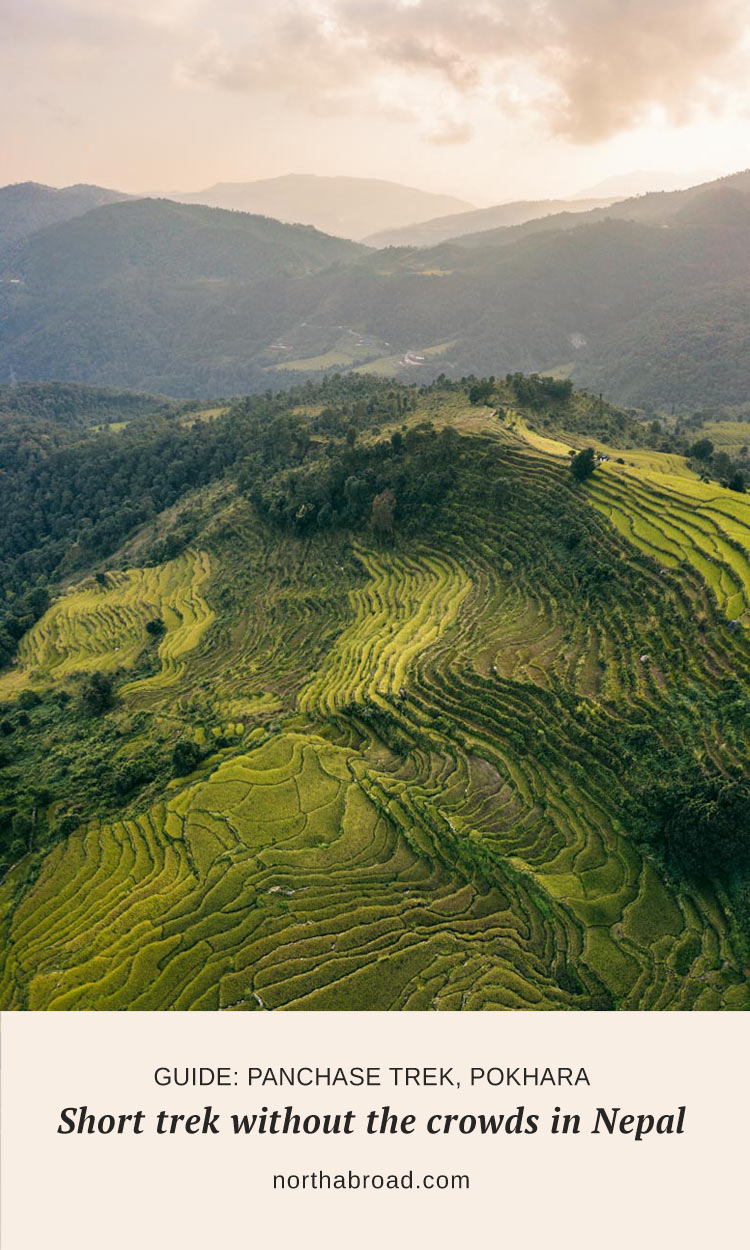
The rest of the walk to Bumdi provides scenic views to the Pokhara valley and beautiful rice terraces.
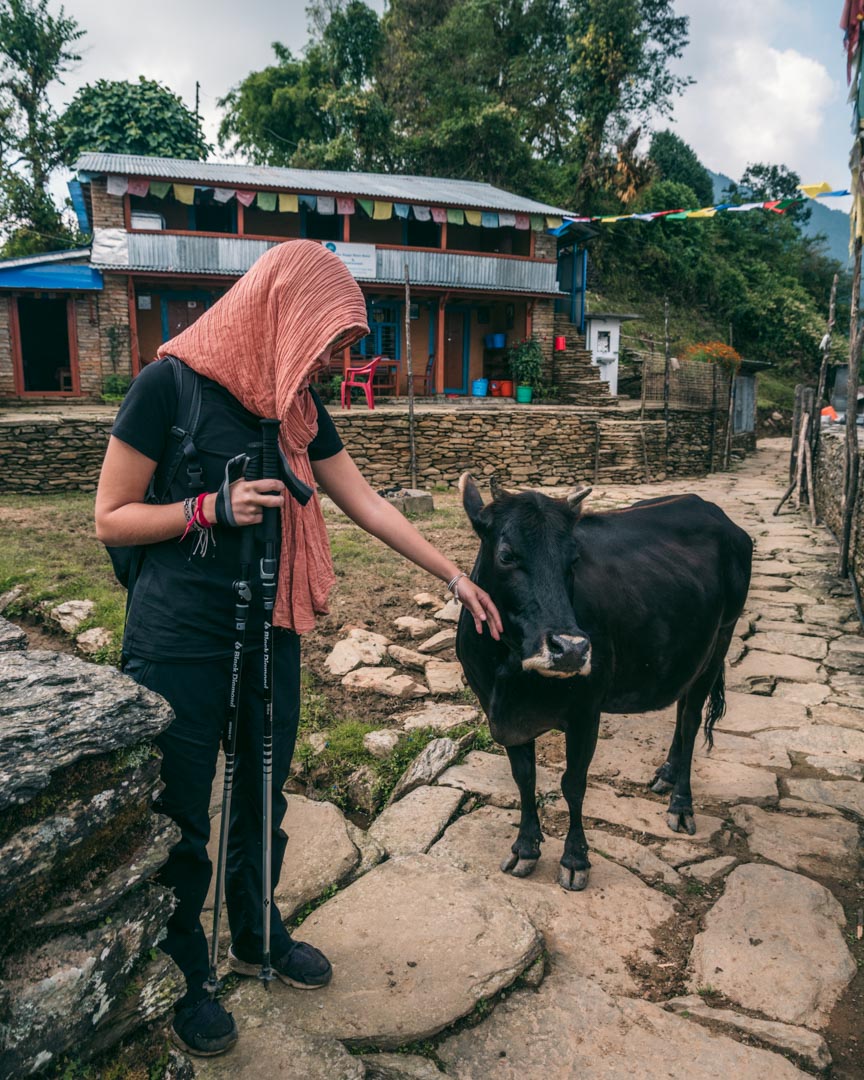
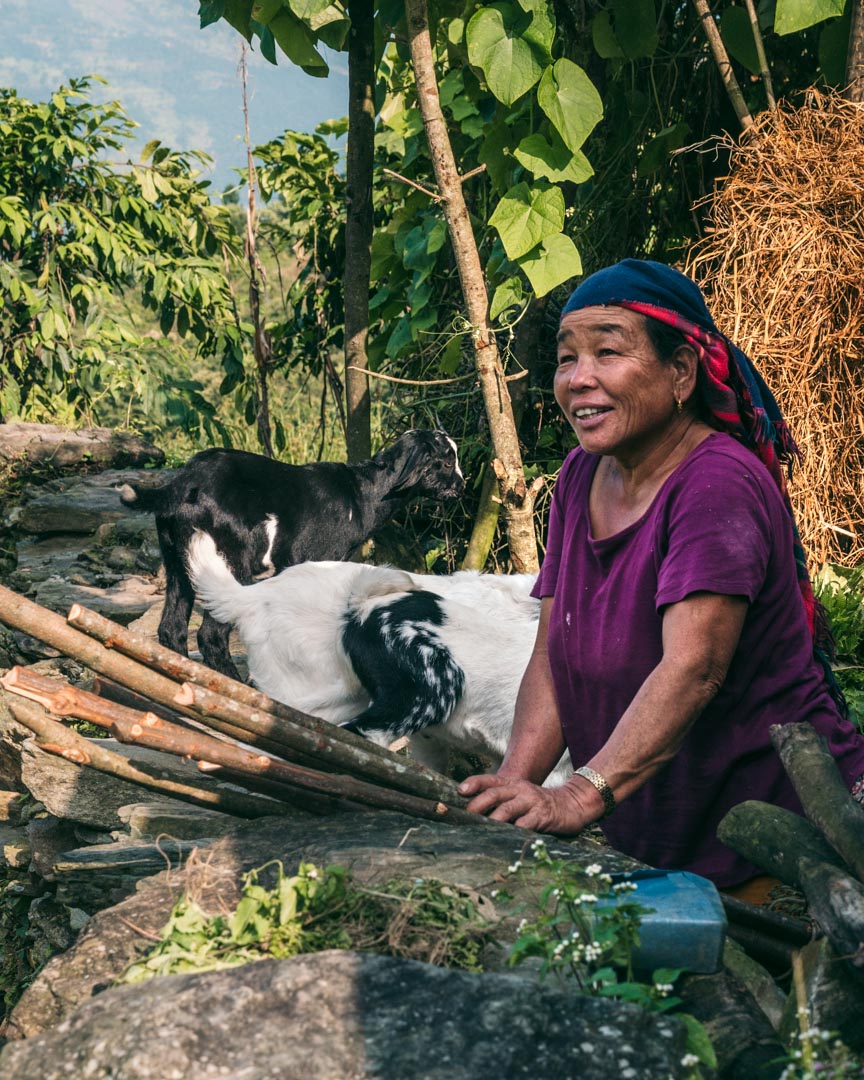
We also walked through many small local villages with curious and playful children.





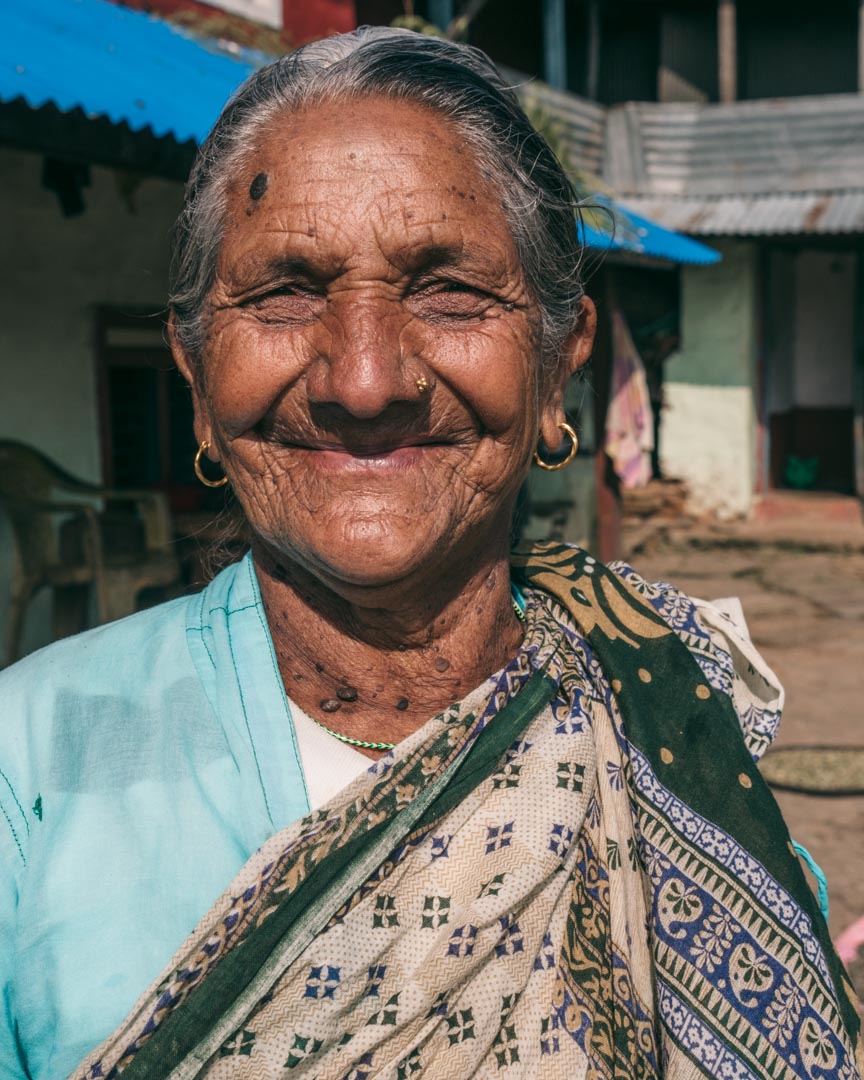

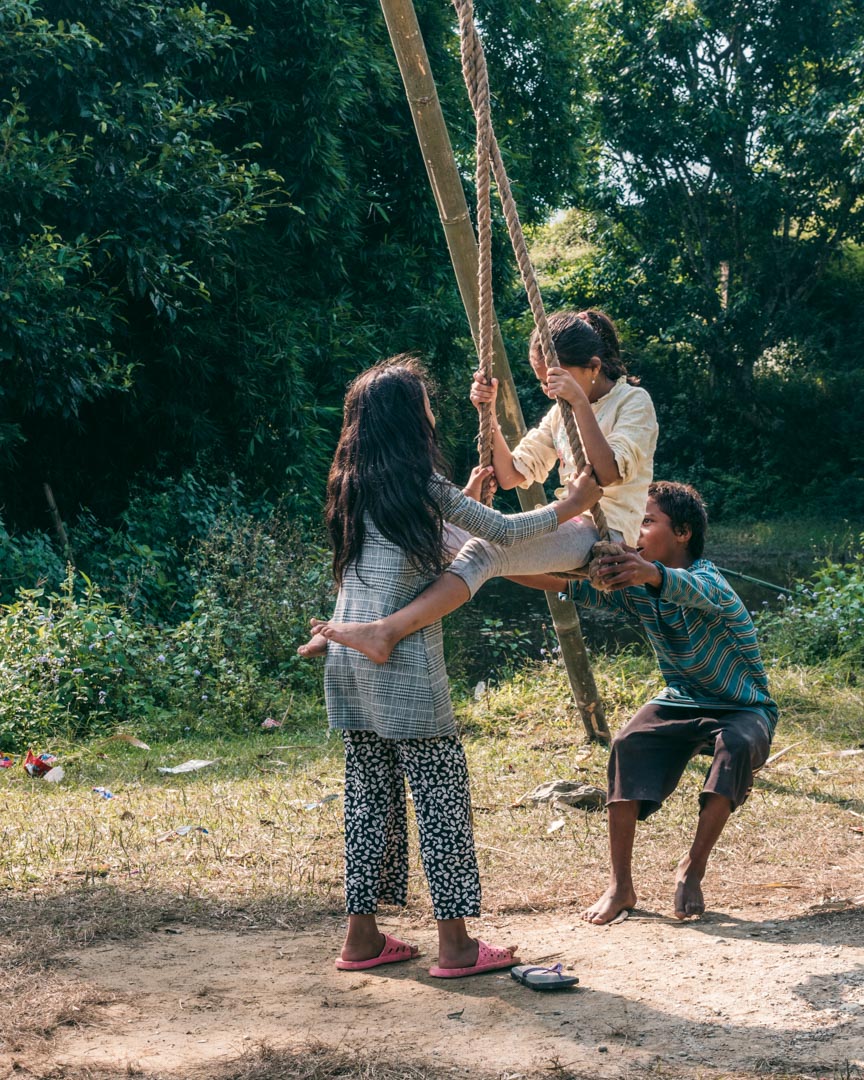

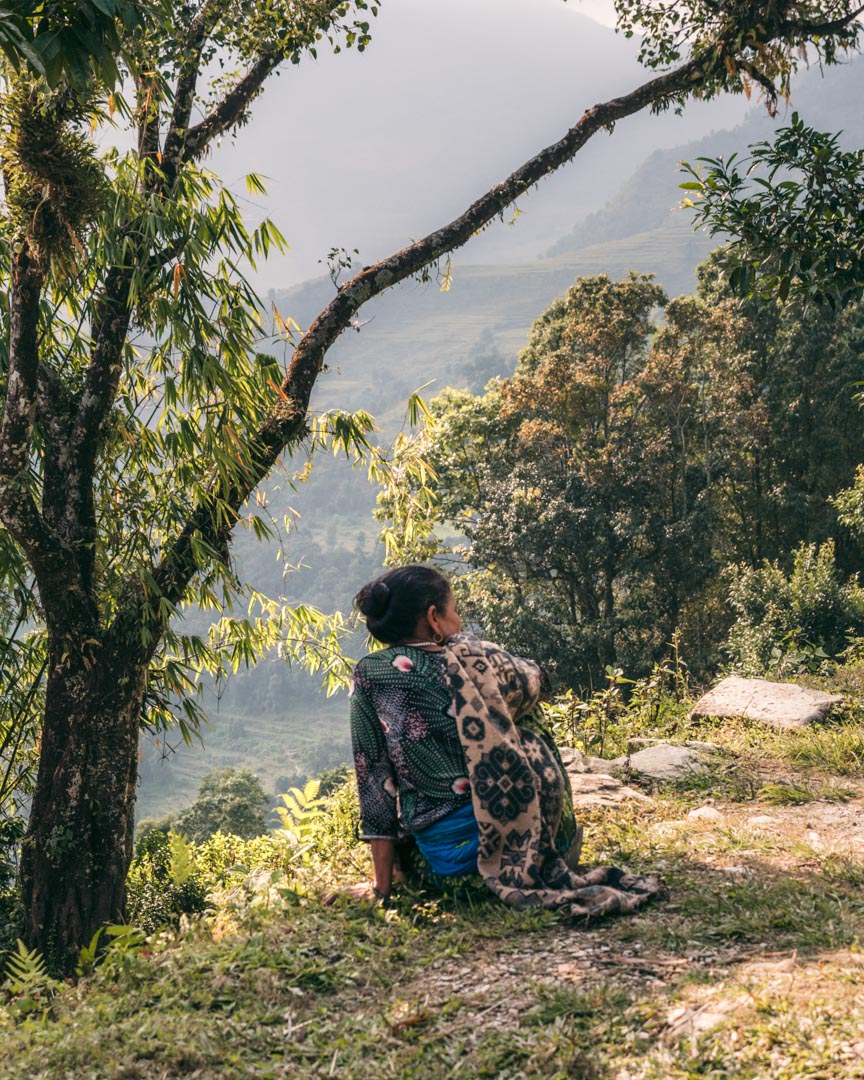

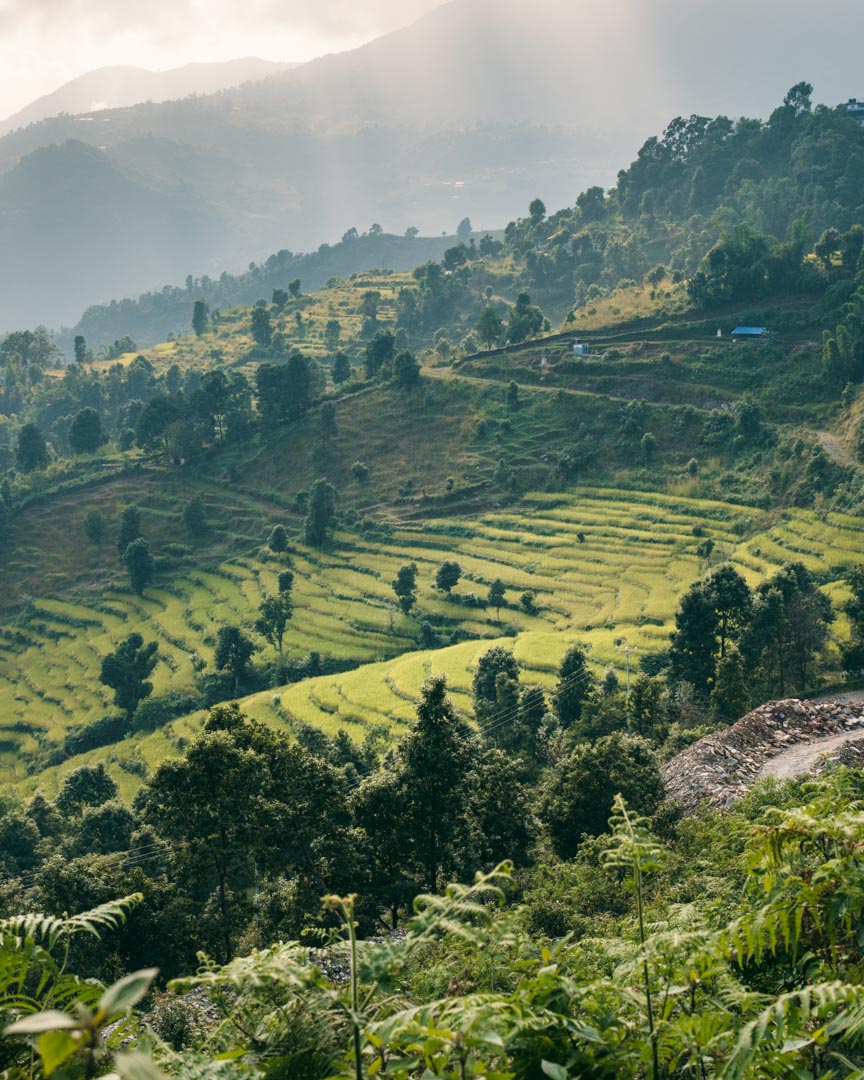



Himalayan View Tea House
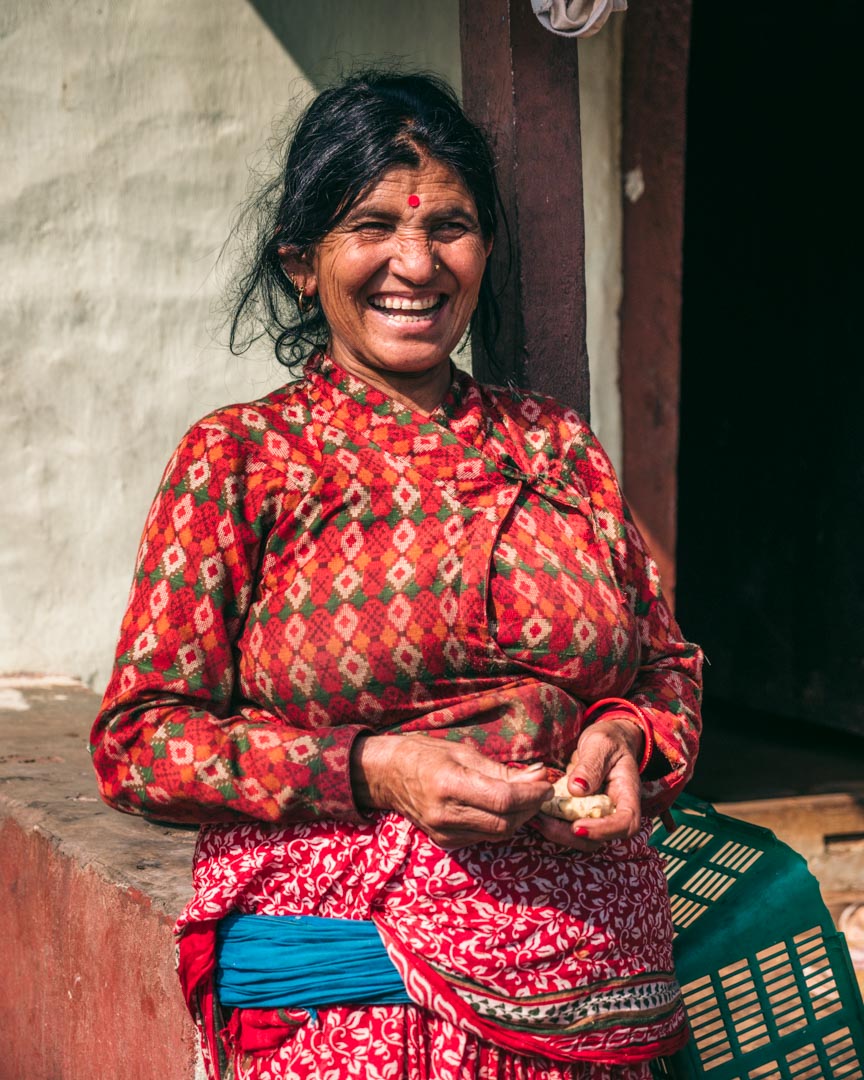
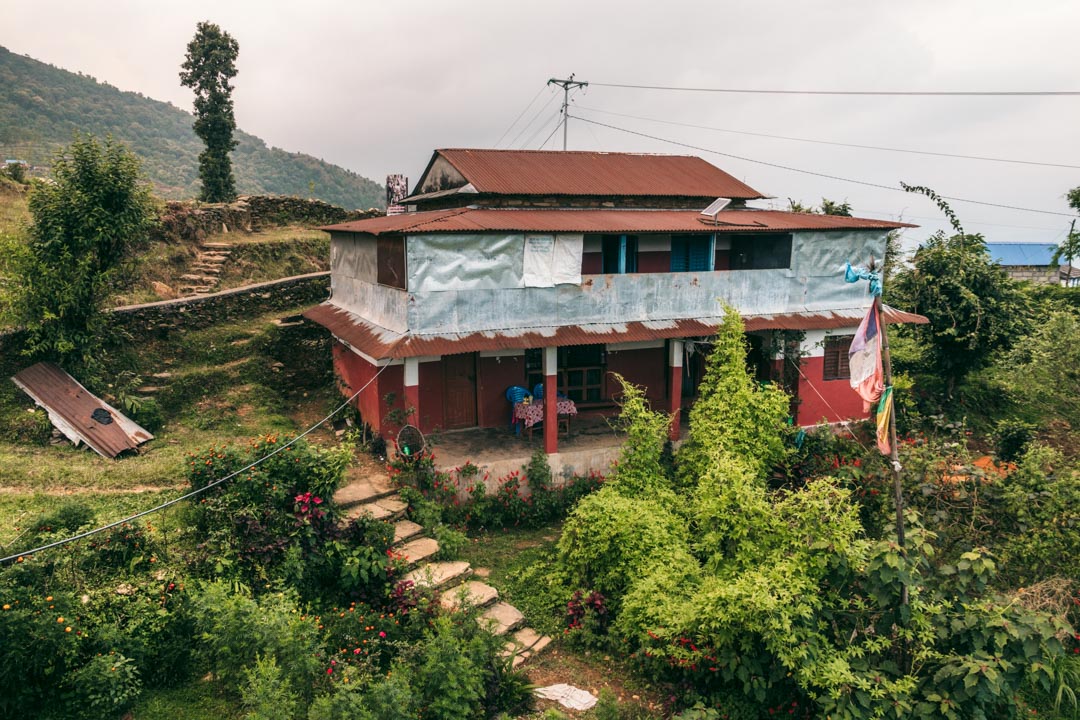
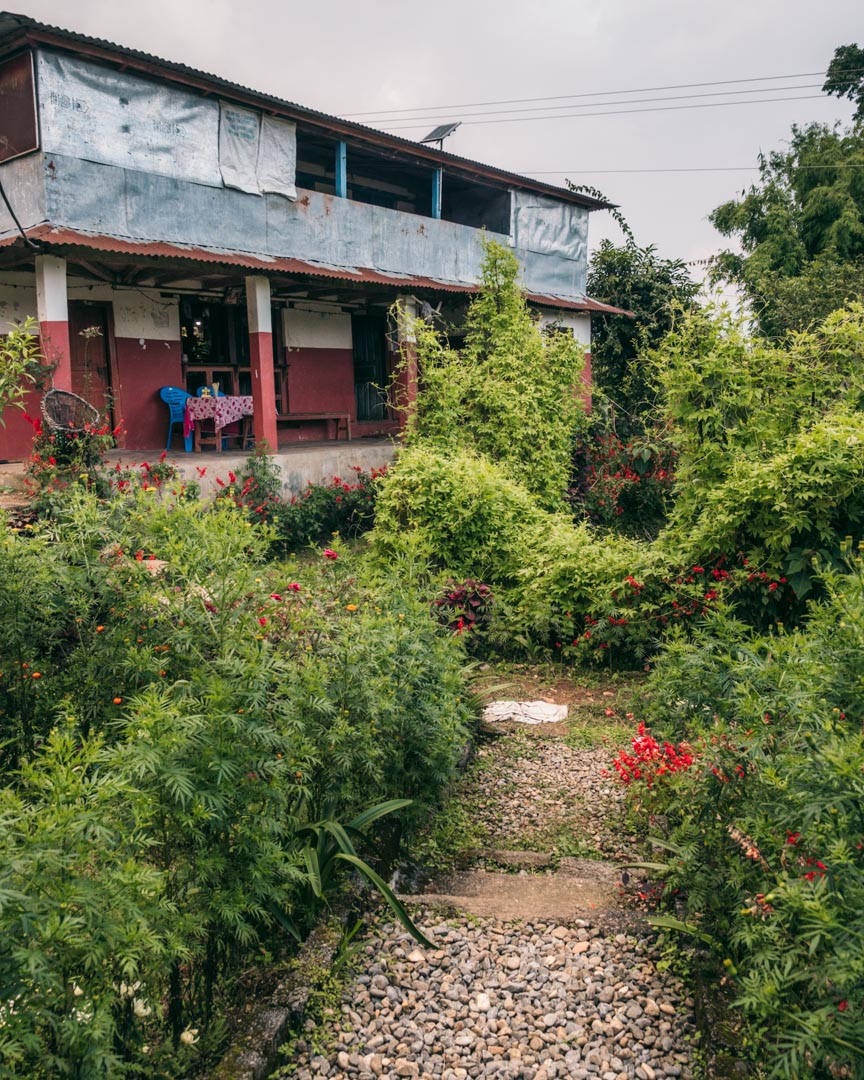
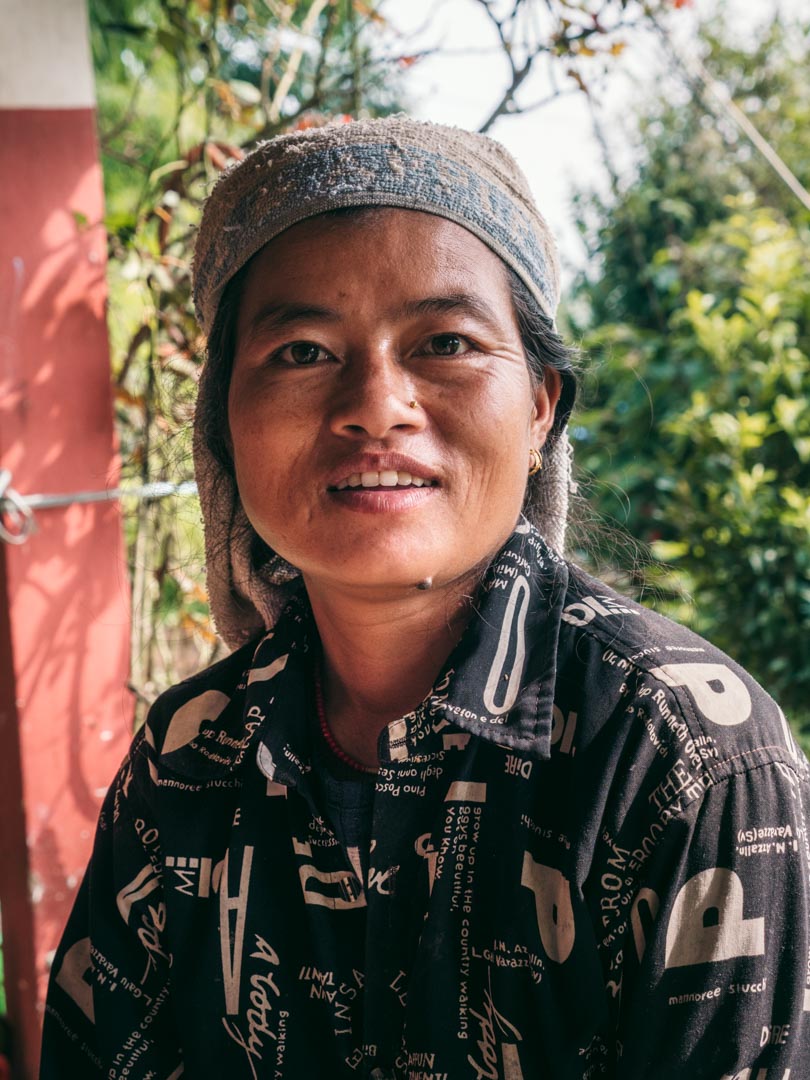
Arriving in Bumdi (sometimes also spelled Pumdi or Bhumdi), we “checked-in” at Himalayan View Tea House, run by the wonderful couple Myla and Myli.
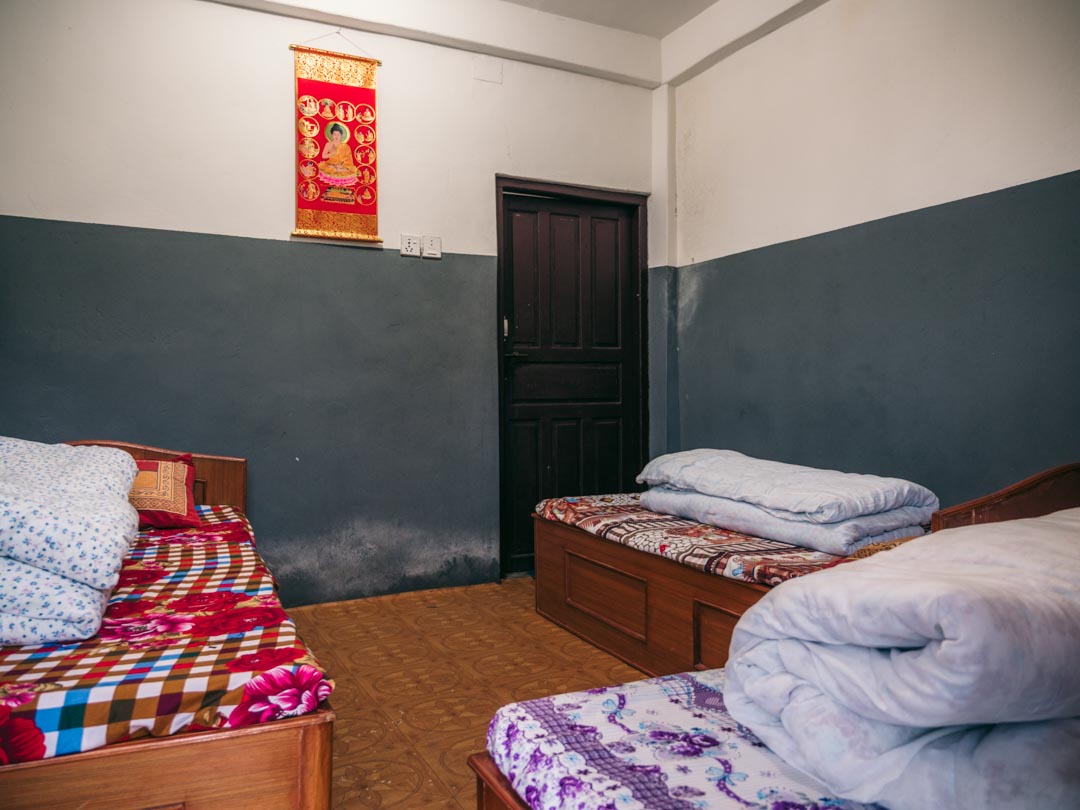
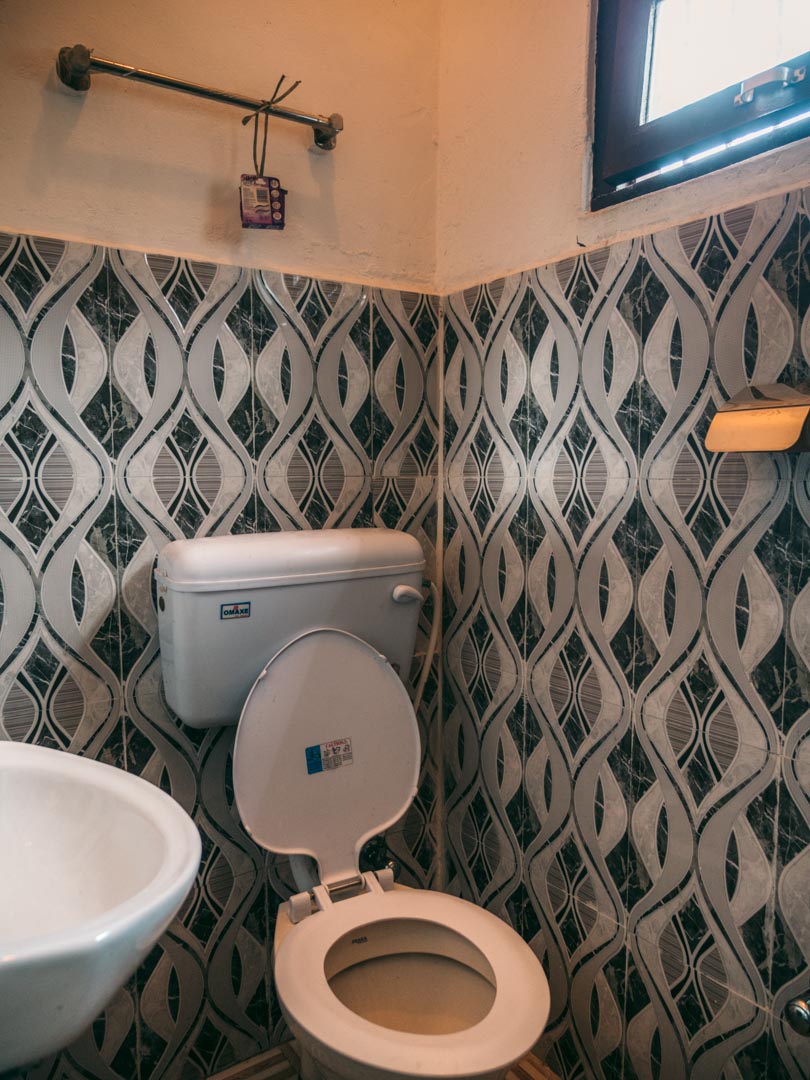
For 600 Nepalese rupees (~ 5.2 USD / 4.7 EUR), we had a simple but private room with a western toilet and cold shower.
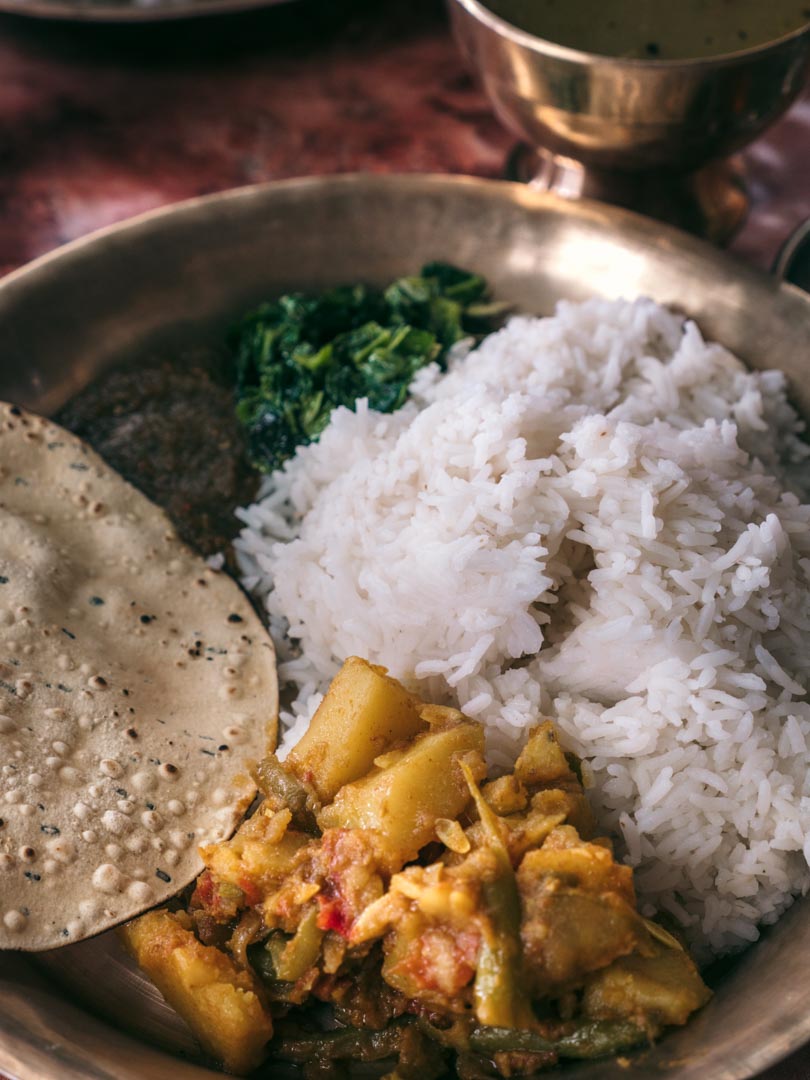
They served up the most delicious dal bhat of our whole trip in the evening including some of the hottest chilli imaginable. Don’t say yes to Myla’s chilli unless your stomach can handle it!
Though we didn’t stay inside their actual home, this is exactly how we pictured a great homestay with lots of laughs and culture exchange.
They were simply so sweet and we loved staying at Himalayan View Tea House.
















Day 2
Nasty leeches
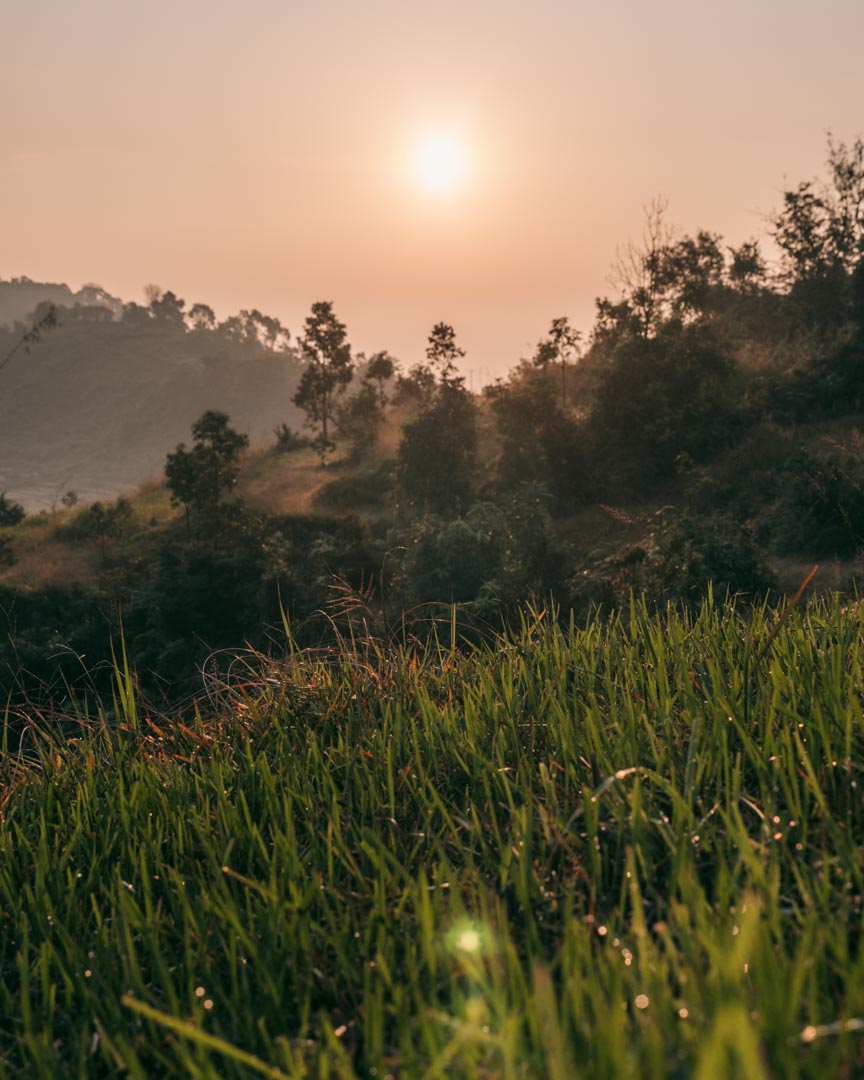
Breakfast was served at the roof where we enjoyed porridge, bread, fruit and black tea in the morning sun.
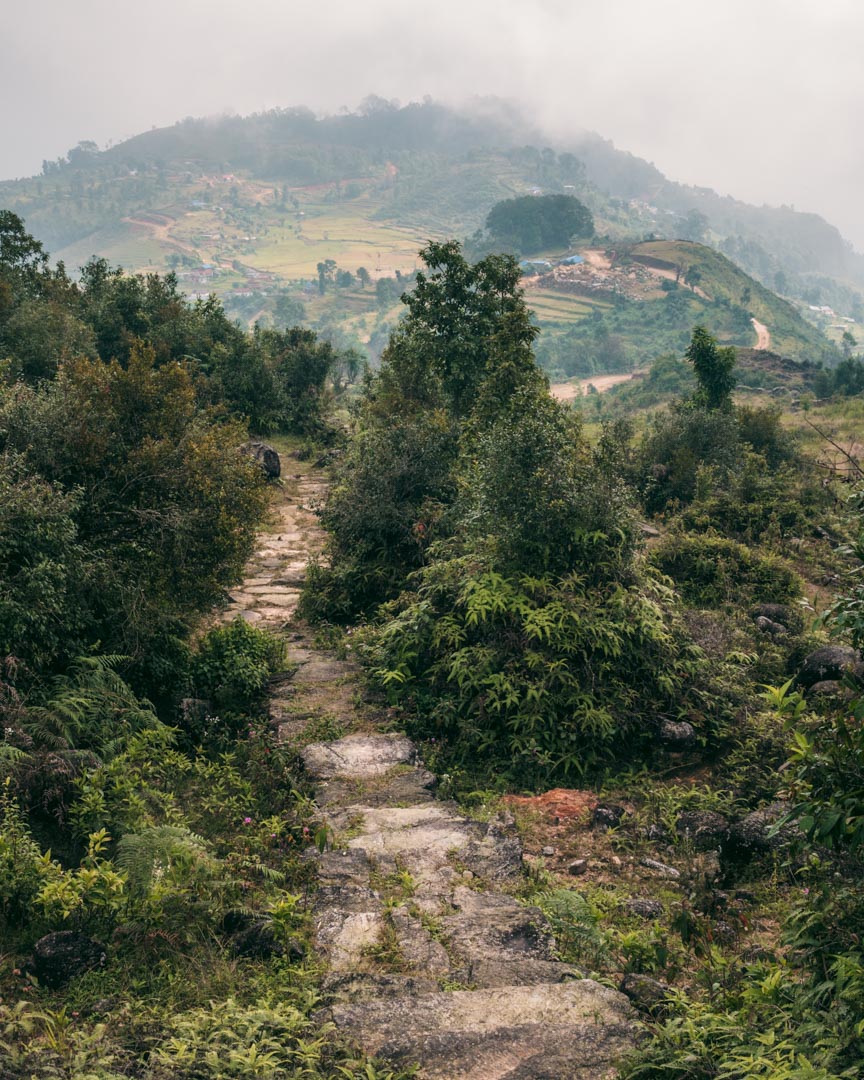
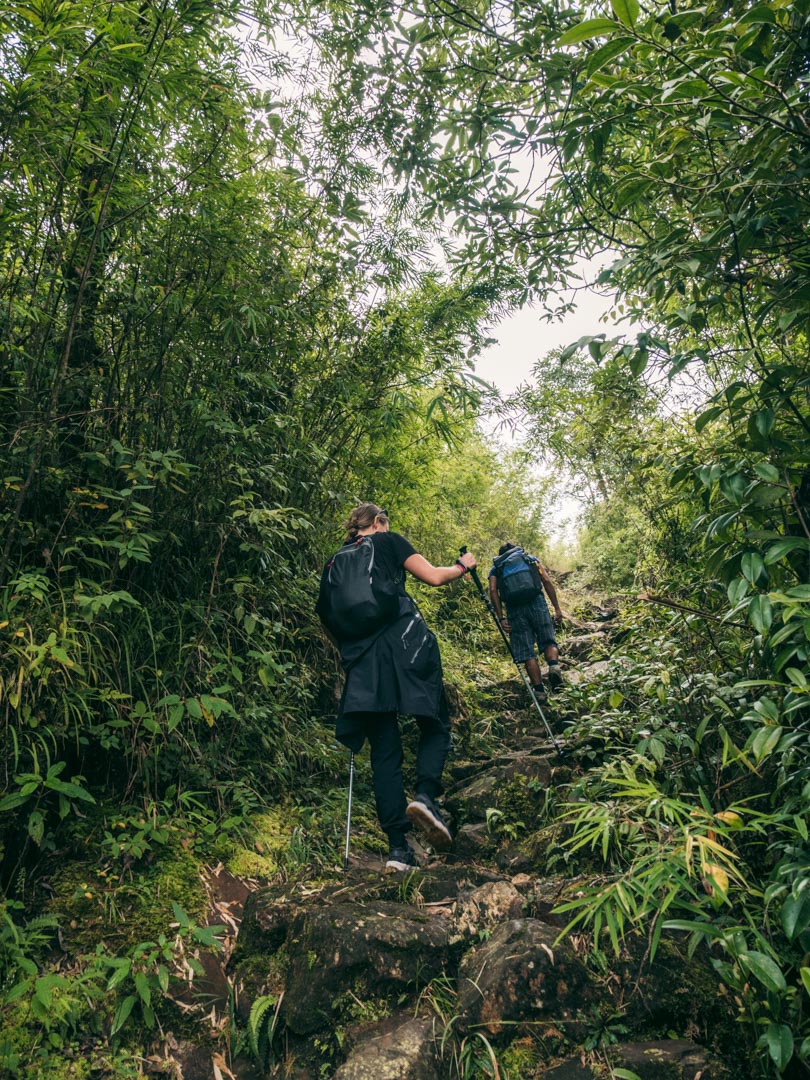
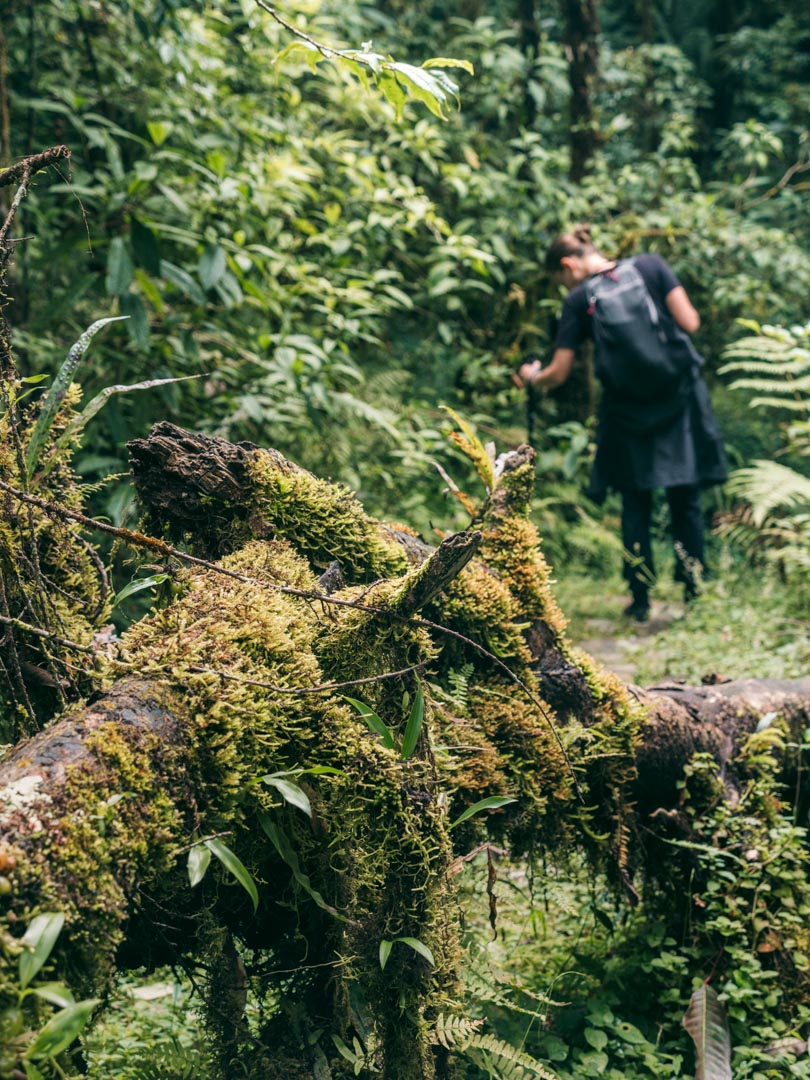
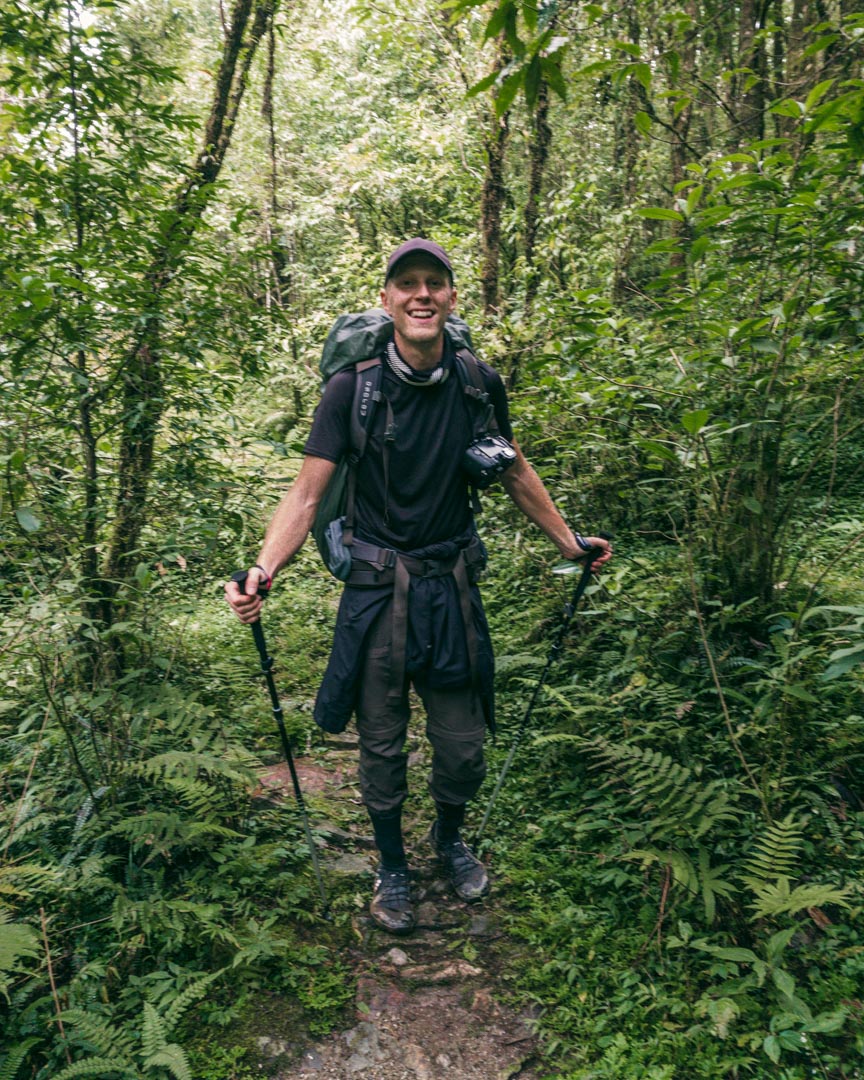
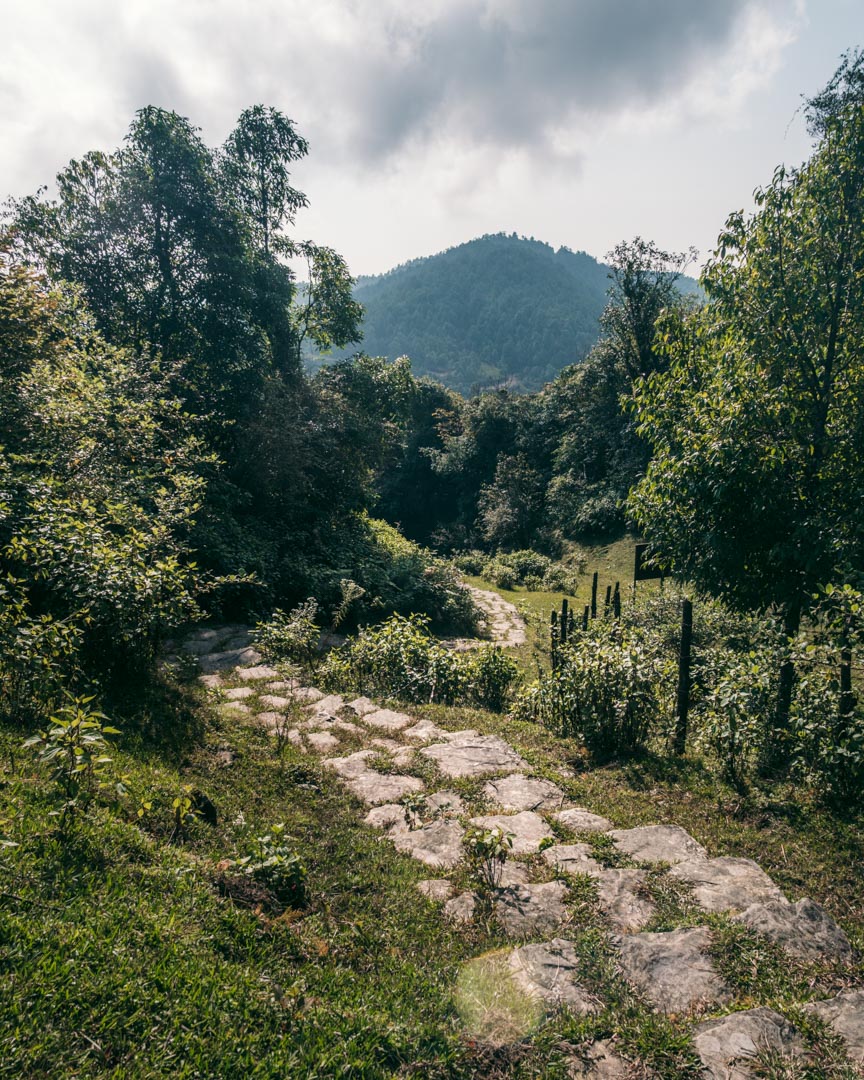
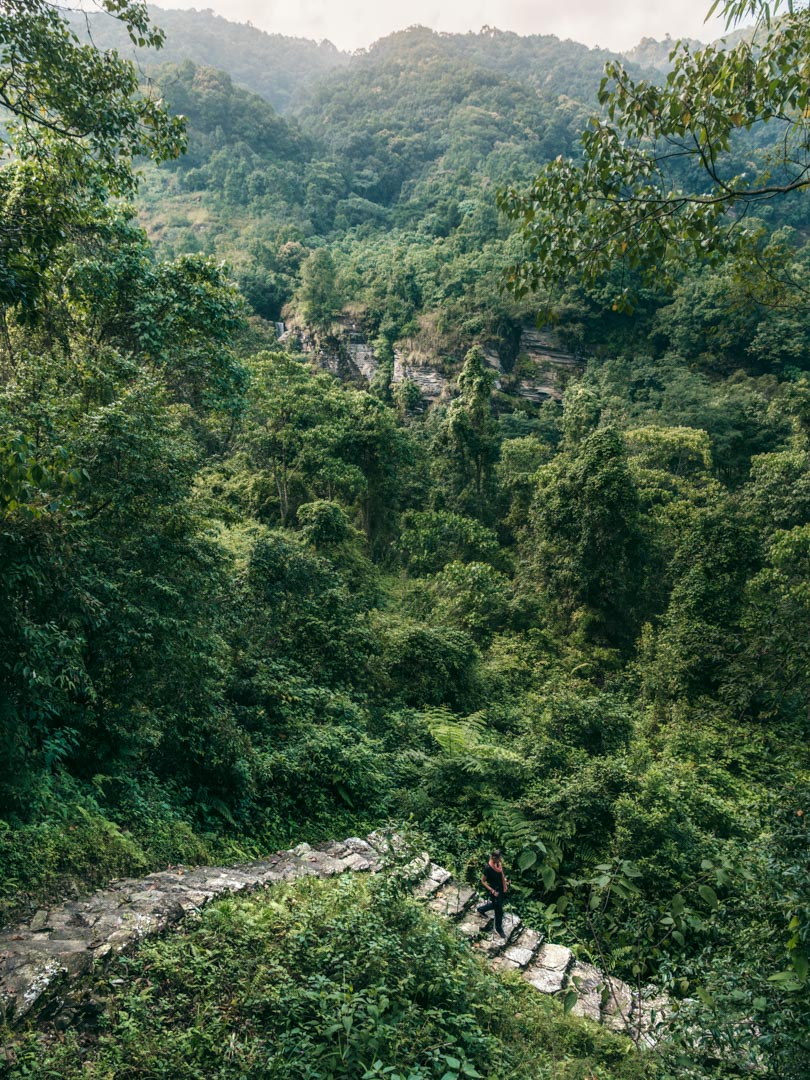
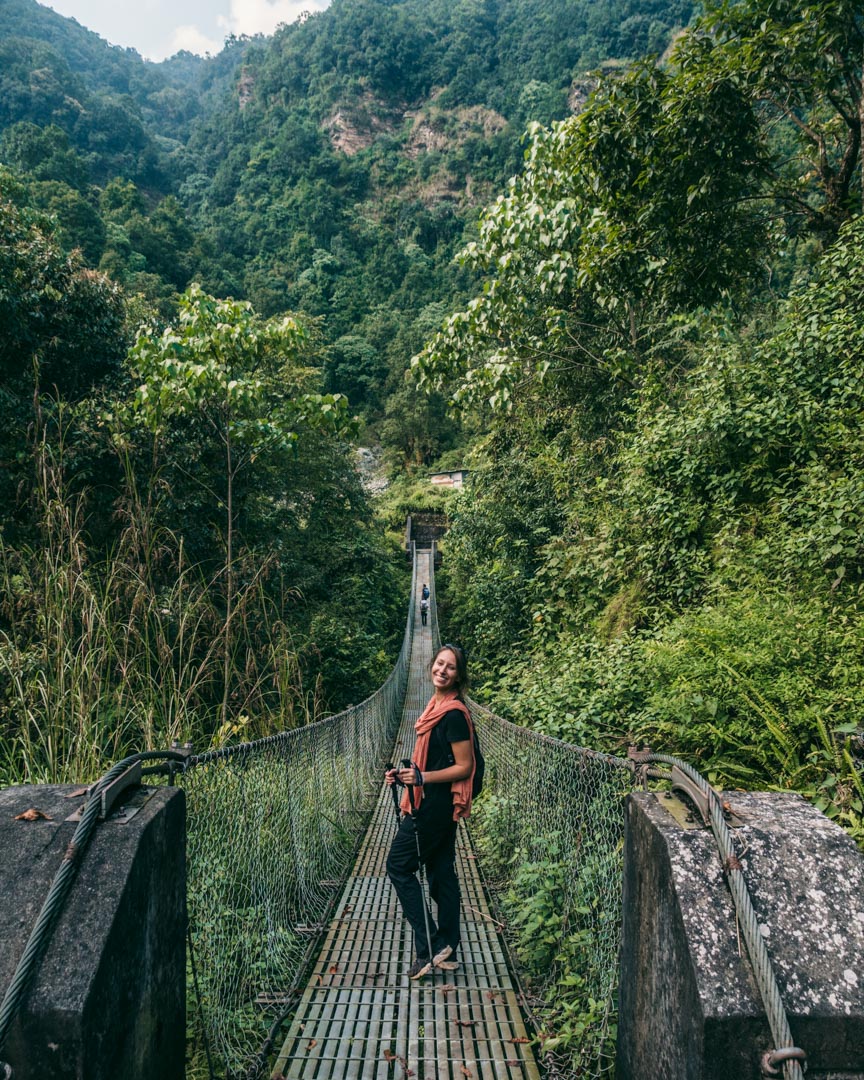
After a bit of climbing, we entered the forest.
On a sunny day after a clear night, walking through the forest would surely have been pretty great.
It had rained during the night though, which meant that there was a lot of leeches…
Leeches aren’t dangerous. They aren’t too painful. They just itch. And they’re nasty!
We battled the leeches all through the forest and honestly would rather have avoided this part of the trip if we could.
Going later in the season (this was early October) would probably mean drier conditions and no leeches.
There are no restaurants between Bumdi and Panchase Village so bring some lunch or snacks for the trip.








Panchase Village
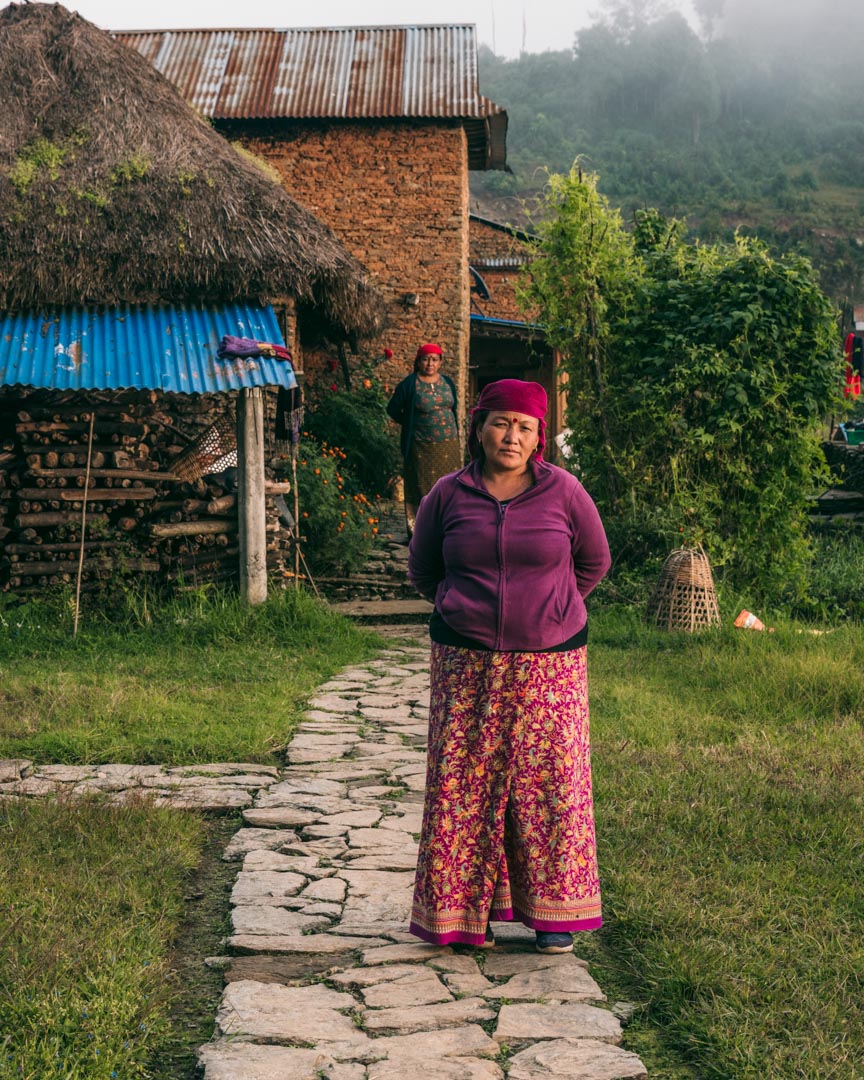
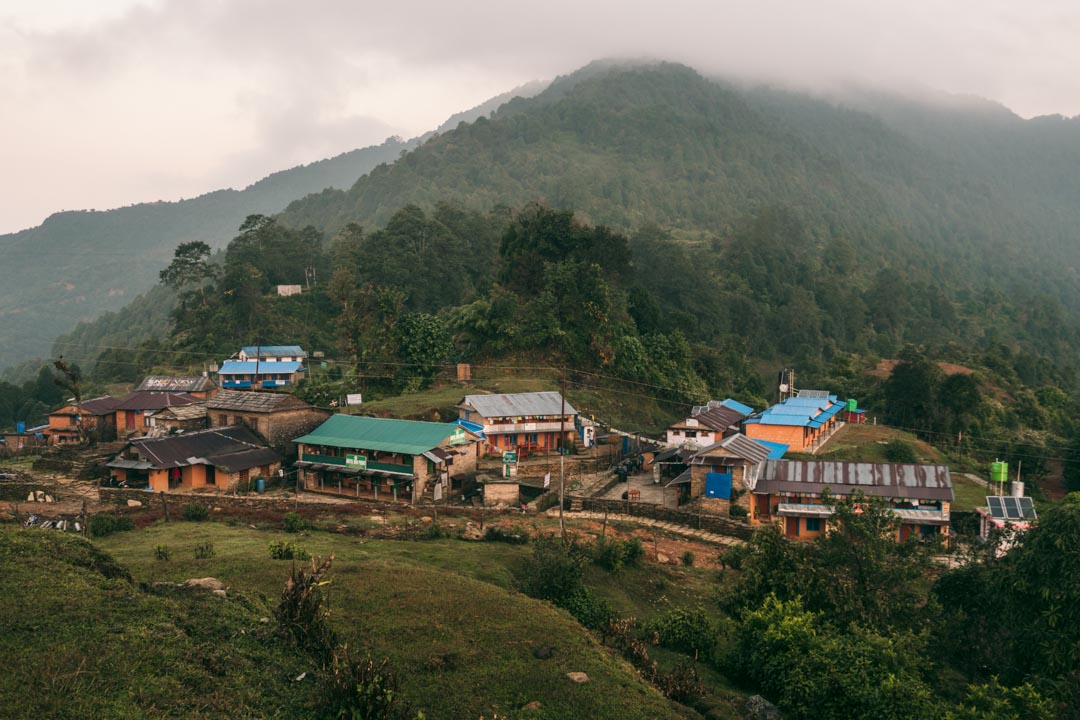
Panchase Village has a lot more accommodation options than Bumdi with about six tea houses.
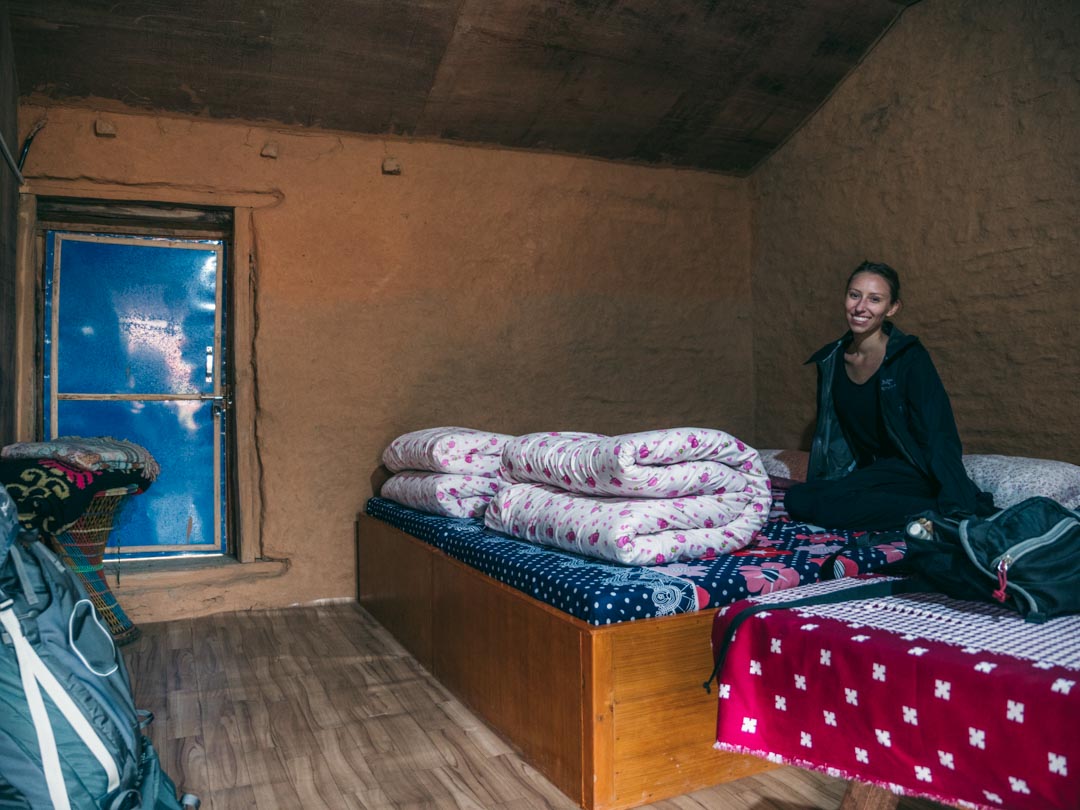
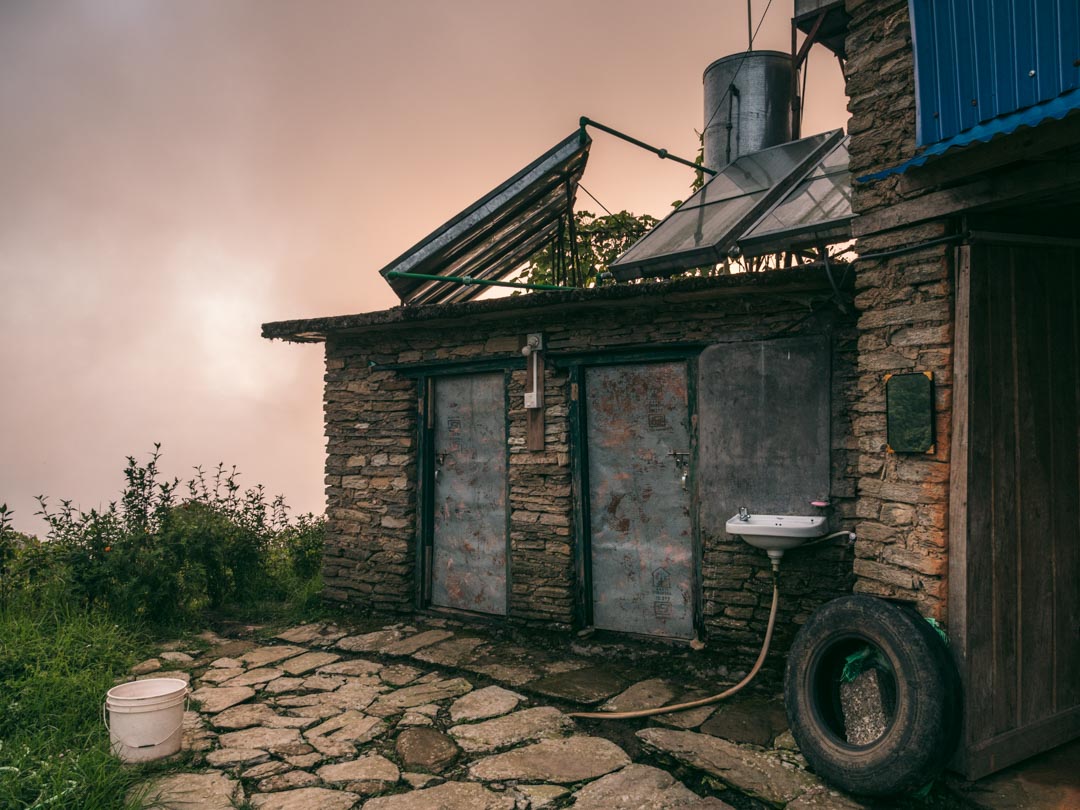
We stayed at Sunset View Point Guesthouse where we got a simple and clean room with electricity and a hot (!) shower for 500 Nepalese rupees (~ 4.4 USD / 3.9 EUR).
Both shower and (squat toilet) was shared.
Once again, the dal bhat was delicious.
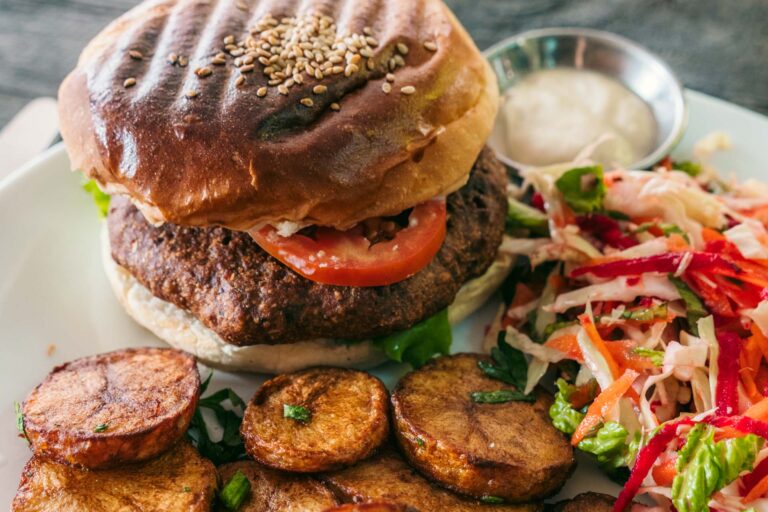
There was an actual menu with a few different options here if you fancy trying something else than the Nepali national dish.







Day 3
The highlight of our trip: Panchase Peak
Our guide Tek woke up at 3 AM and 4 AM to check the weather conditions. Unfortunately, it was too cloudy for a great sunrise view.
We waited until about 10 AM to go to Panchase Peak as the weather had cleared up by then.
The walk up is quite steep but easy in terms of terrain with mostly stairs.
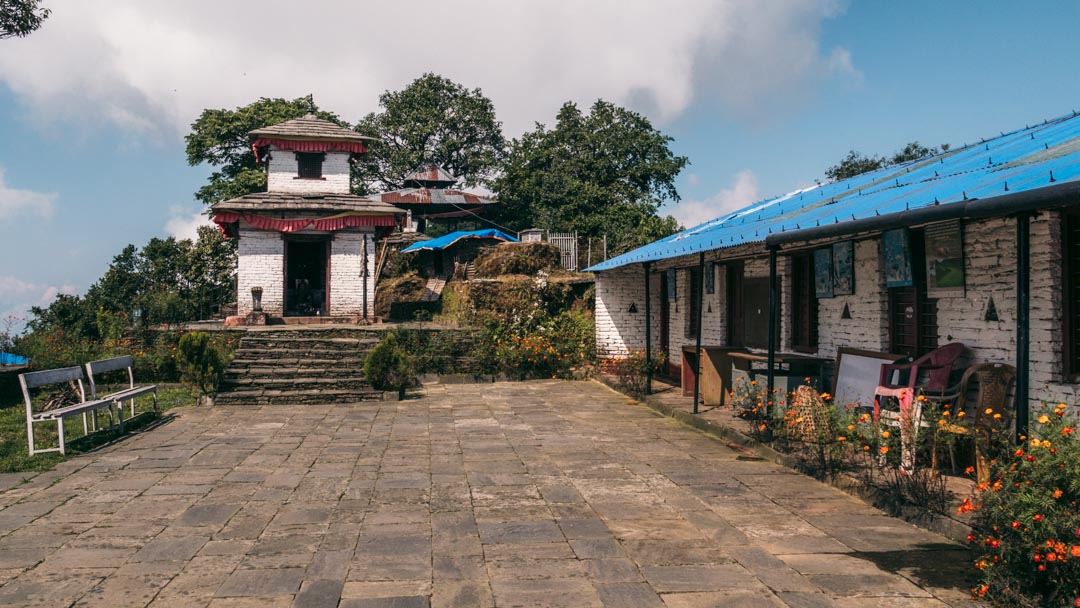
There’s a small temple on top, a “museum” with pictures of local flora and fauna and a restaurant/tea house.
The view to the Annapurnas is, non-surprisingly, amazing.





Down to Kande
After walking back down to Panchase Village and filling up on more dal bhat, we embarked on the journey to Kande.
If you descend from Panchase Peak all the way to Kande in the same day like we did, prepare to be pretty sore the next couple of days!
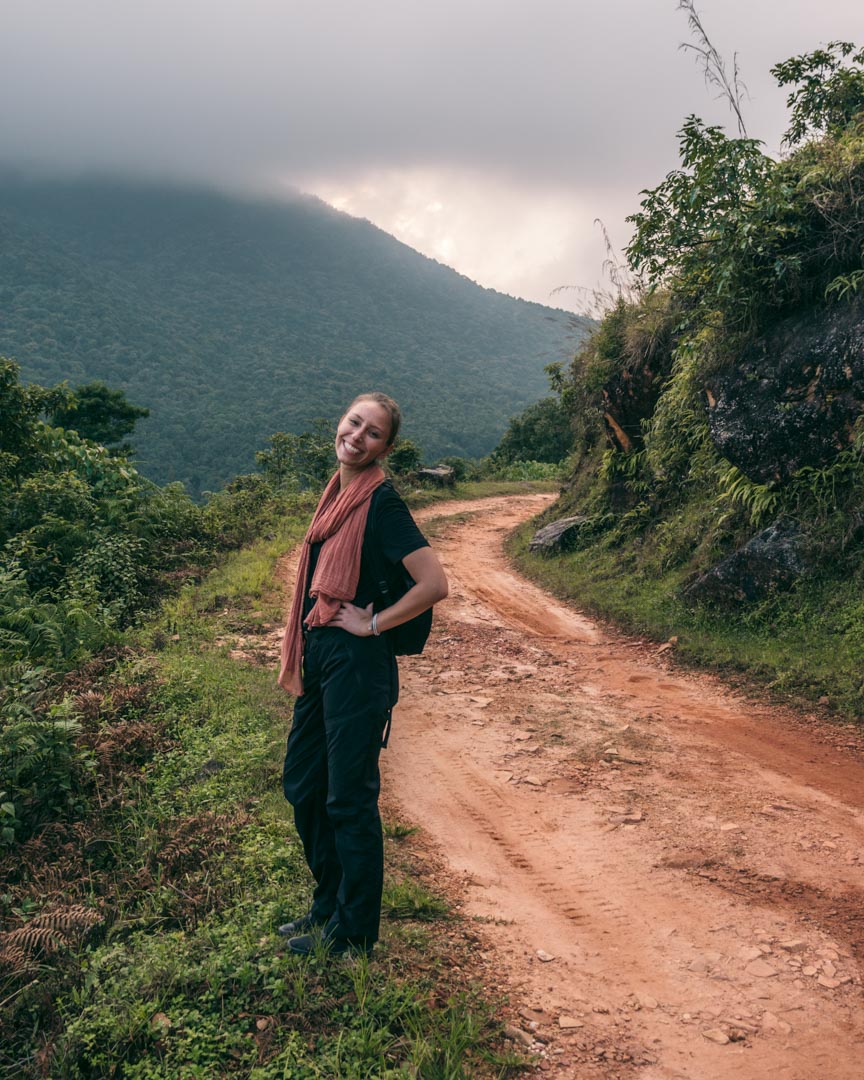
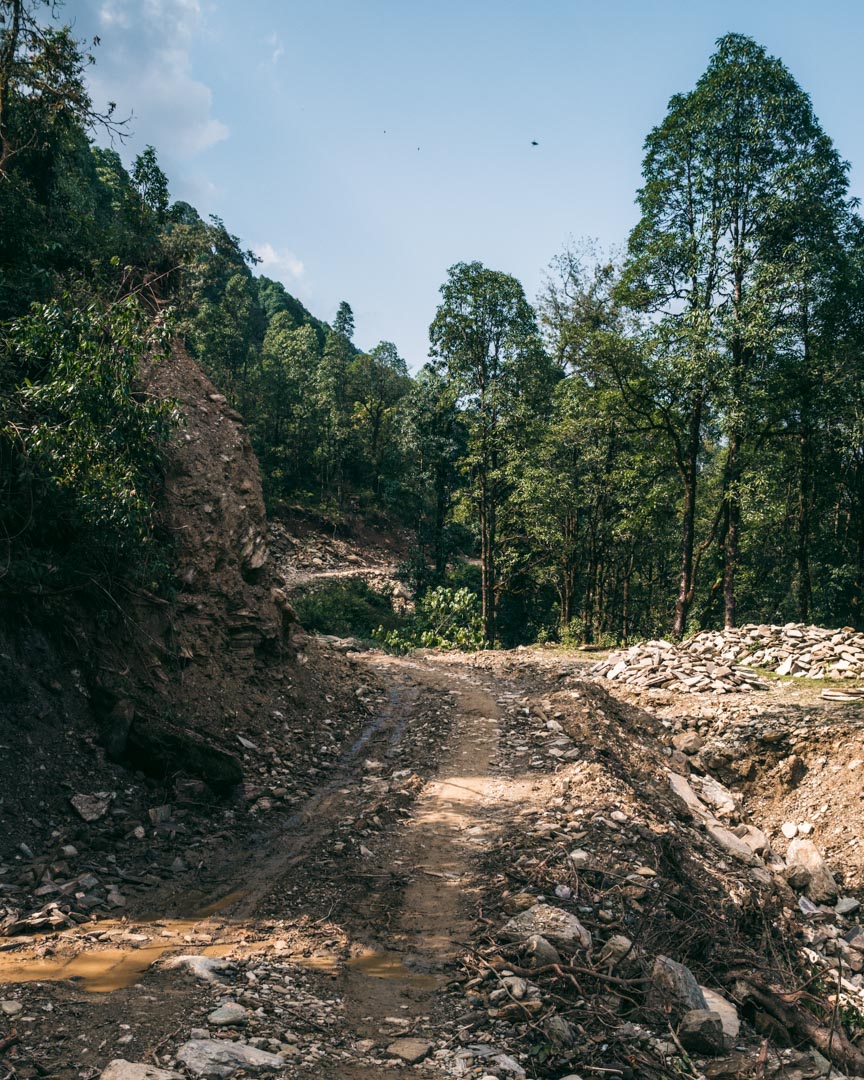
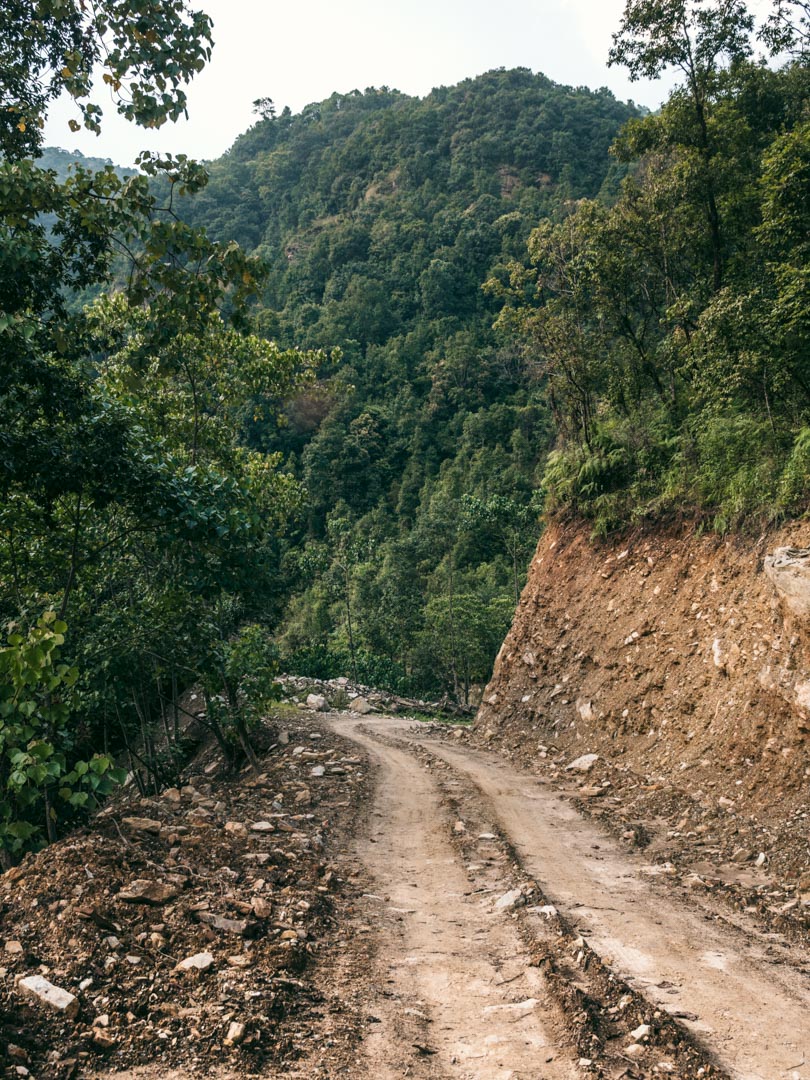
The trail was a mixture of stairs cutting through the landscape and walking on the side of the dusty road. We barely met any vehicles.
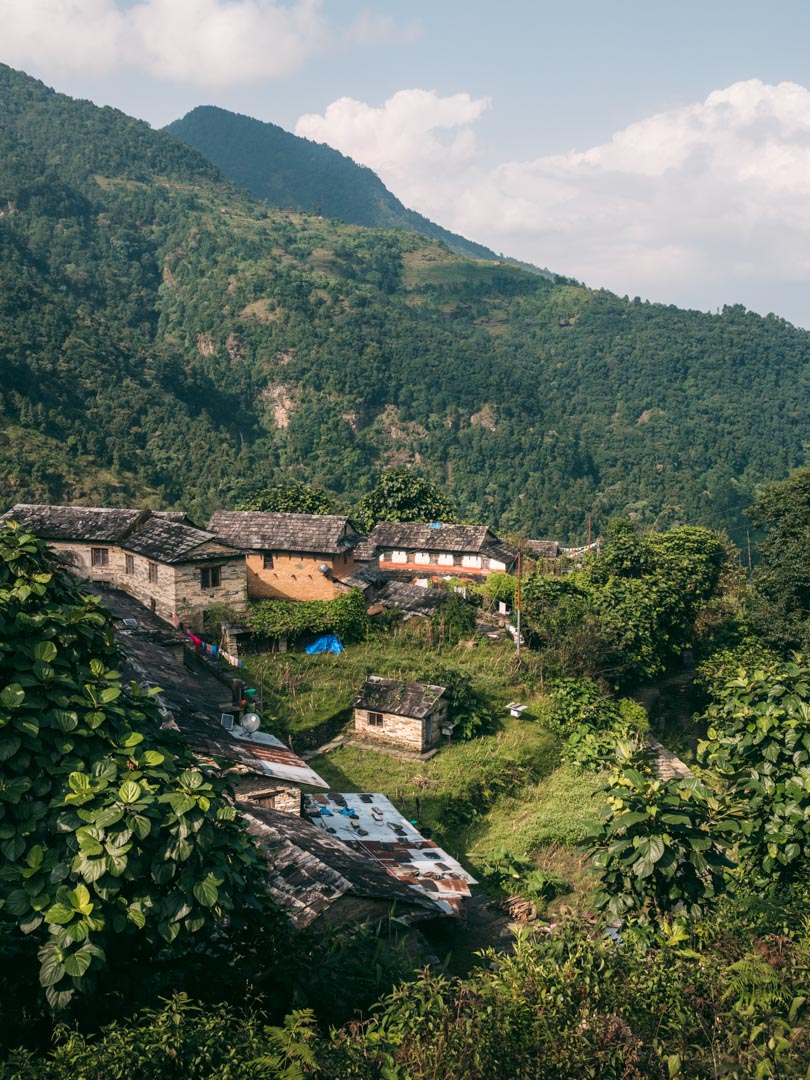
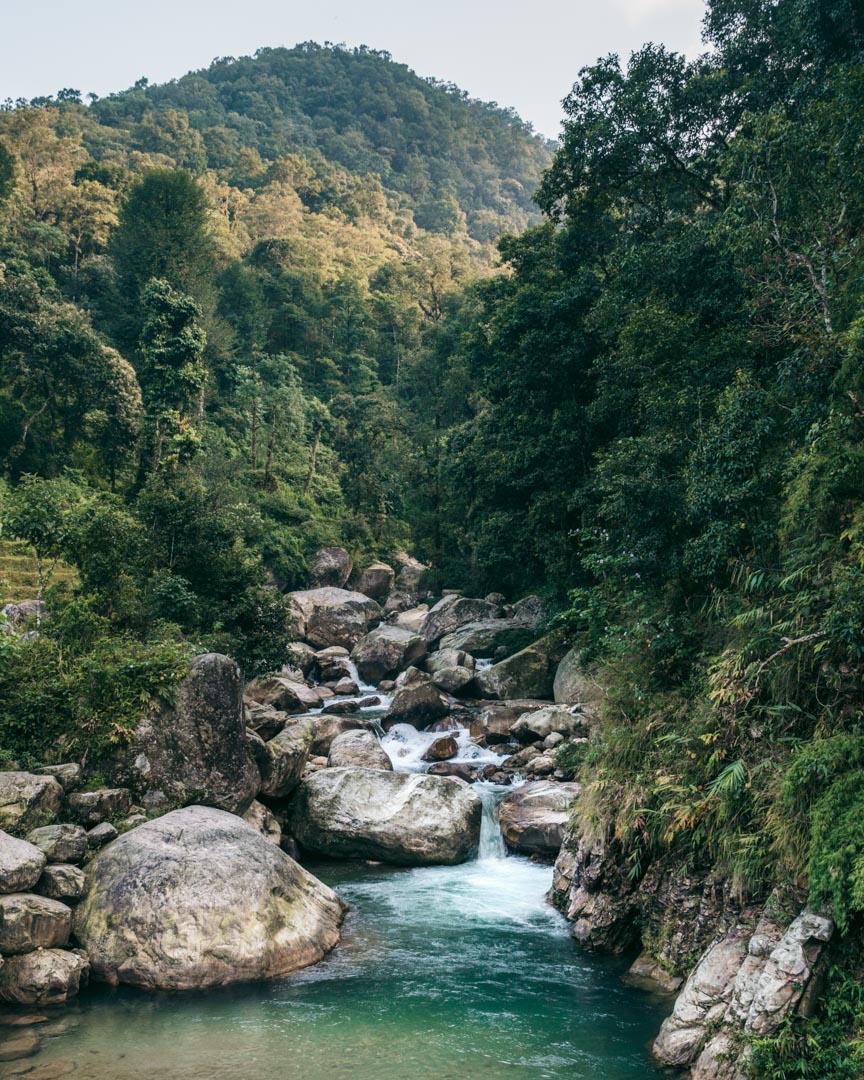
Closer to Kande we started seeing more rice fields and even walked through some very nice villages.
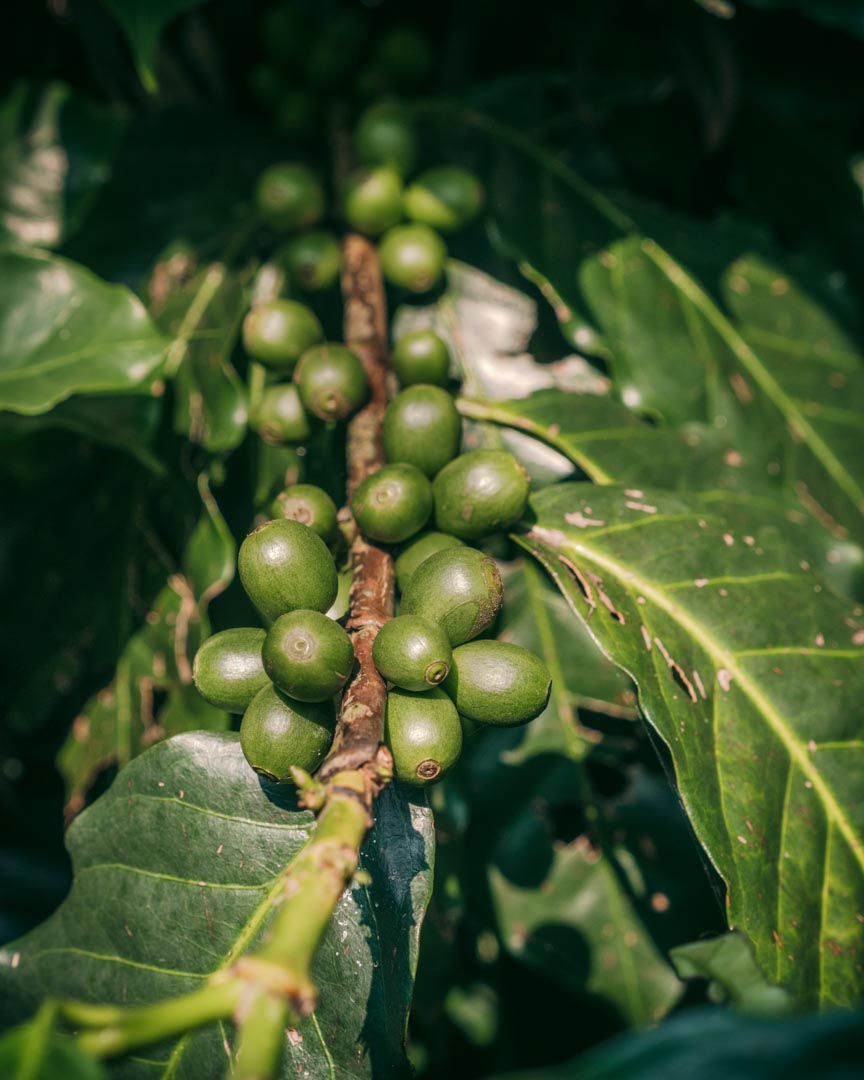
We saw many tropical plants on our way, including coffee, avocado and banana trees.









Bus to Pokhara
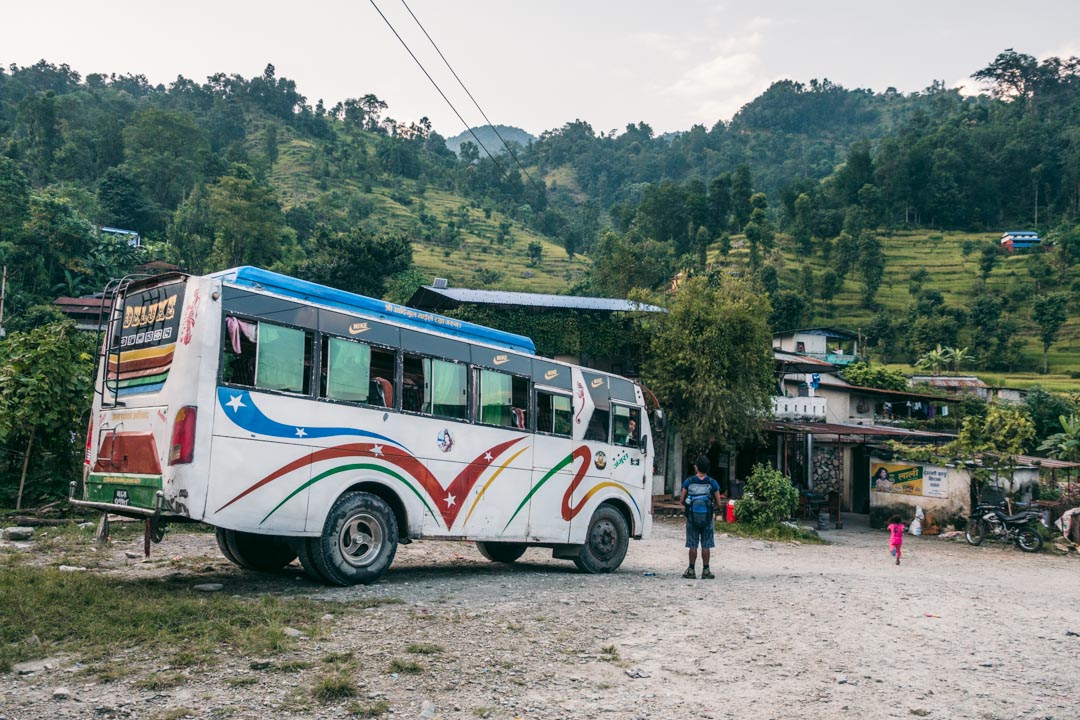
At Kande, we made the last bus back to Pokhara.
While our little group was the only people on the bus at first, it quickly filled up with locals going into the city.
The atmosphere in the bus was eclectic with loud Nepali music and well-dressed people going to/from weddings and parties.
The sun set beautifully behind Panchase while we drove away.





Panchase Trek itinerary options
Reversing the trek
Instead of a long walk up and a steep way down, you could reverse our route and start with reaching Panchase Peak before walking to Bumdi and then back to Pokhara.
Extending the trek
While we took the boat from Pokhara across the lake, you can also walk around it for free; cutting a cost and adding a few extra kilometres.
Instead of catching the bus from (or to) Kande, you could probably walk all the way between Kande and Pokhara, but as it’s on a trafficked dirt-road, it might not be that attractive.
From Panchase Peak, it’s also possible to head down the other way and walk towards Panchase Lake.
Extending even further is definitely possible, too. Ask your trekking company or guide.
If you’re trekking alone, it’s important to always let somebody know about your intended itinerary.
Shortening the trek
If you’re really fast and start early, you might be able to skip the stop in Bumdi and trek directly between Pokhara/The Peace Pagoda and Panchase Village.
It will be a long day, but it’s not impossible.
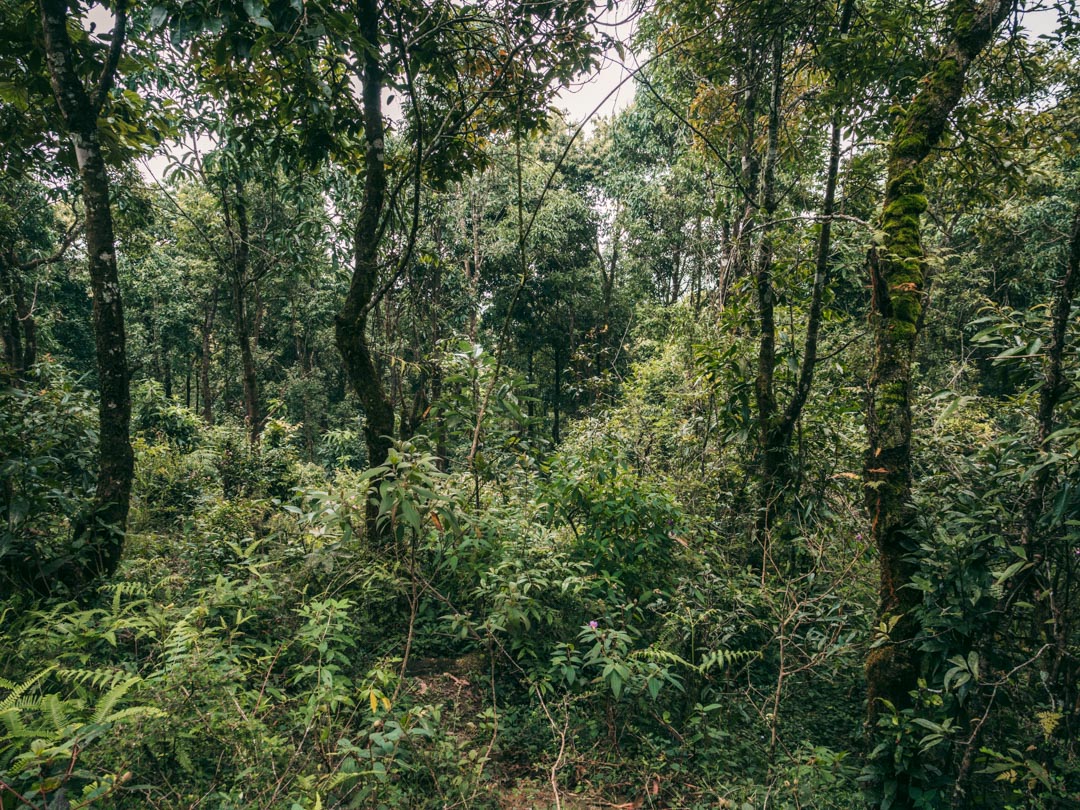
Be aware of going into the forest when it’s getting dark. Finding your way isn’t always very obvious and we were really happy to have a guide that knew the paths.

Typical prices and budget for the Panchase Trek
All of the below prices are for two people.
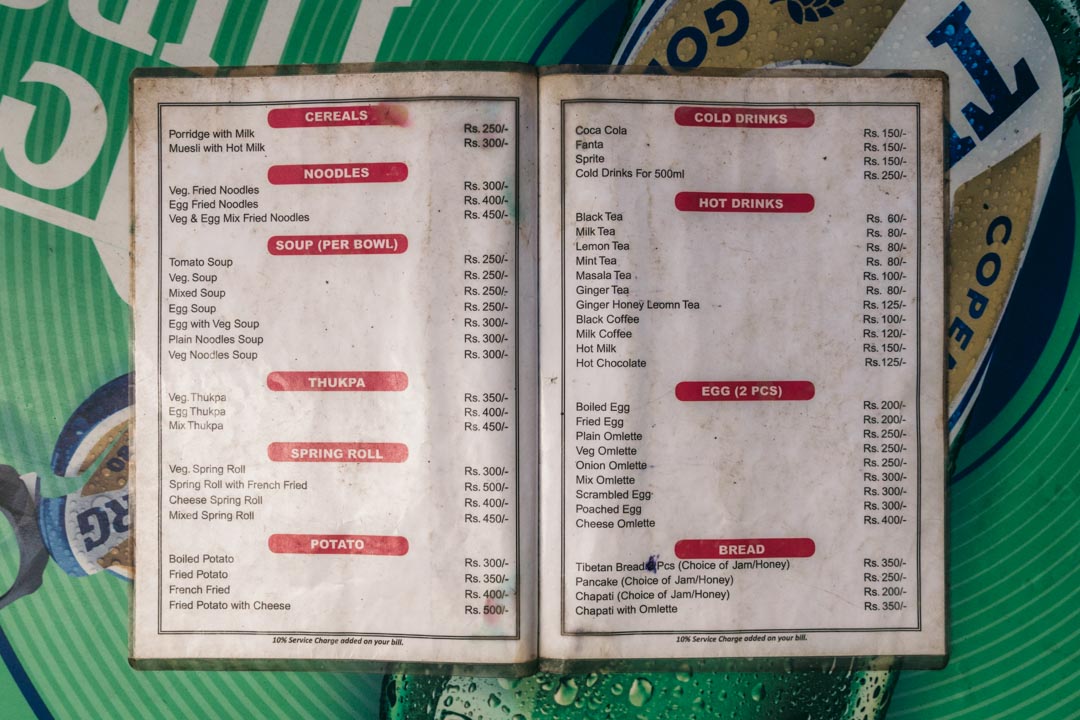
Boat from Pokhara to World Peace Pagoda: 750 Nepalese rupees including obligatory life vests for 20 rupees per person (~ 6.5 USD / 5.9 EUR).
Lunch: 650 Nepalese rupees (~ 5.7 USD / 5.1 EUR).
Bumdi: Tea house accommodation: 600 Nepalese rupees (~ 5.2 USD / 4.7 EUR).
Dinner, breakfast, tea and boiled water*: 2,200 Nepalese rupees (~ 19 USD / 17 EUR).
*Instead of buying new plastic bottles with water, we bought boiled water, let it cool and refilled our own bottles for the next day of hiking. Better for the environment and cheaper too!
Panchase Village: Tea house accommodation: 500 Nepalese rupees (~ 4.4 USD / 3.9 EUR).
Dinner, lunch, breakfast, tea and boiled water: 2,600 Nepalese rupees (~ 23 USD / 20 EUR).
Bus from Kande to Pokhara: 60 Nepalese rupees per seat (~ 0.5 USD / 0.5 EUR).
Guide: ~ 2,500 Nepalese rupees per day (~ 22 USD / 20 EUR).
Total price for two people doing the Panchase Trek (3 days/2 nights): ~ 15,000 Nepalese rupees (~ 130 USD / 118 EUR).
That’s approximately 2,500 Nepalese rupees (~ 22 USD / 20 EUR) per day per person!

Best time to go on the Panchase trek
As with most other treks in Nepal, the best time to go is either in autumn or spring.
Autumn (October and November) are ideal as most rains should have stopped by then and the views keep getting better – but it isn’t too cold, yet.
As the elevation for the Panchase Trek isn’t very high, it’s also possible to do it in the colder winter months of December, January and February.
Spring (March to May) would be wonderful with even fewer people than autumn and beautiful flowers all around.
Summer (June to September) can’t be recommended unless you love leeches or plan to not walk through the forest.


What to bring on the Panchase Trek
- Cash. You can’t pay with your credit card and there are no ATMs.
- Hiking shoes.
- Change of clothes. Bring layers and accessories like gloves and a hat.
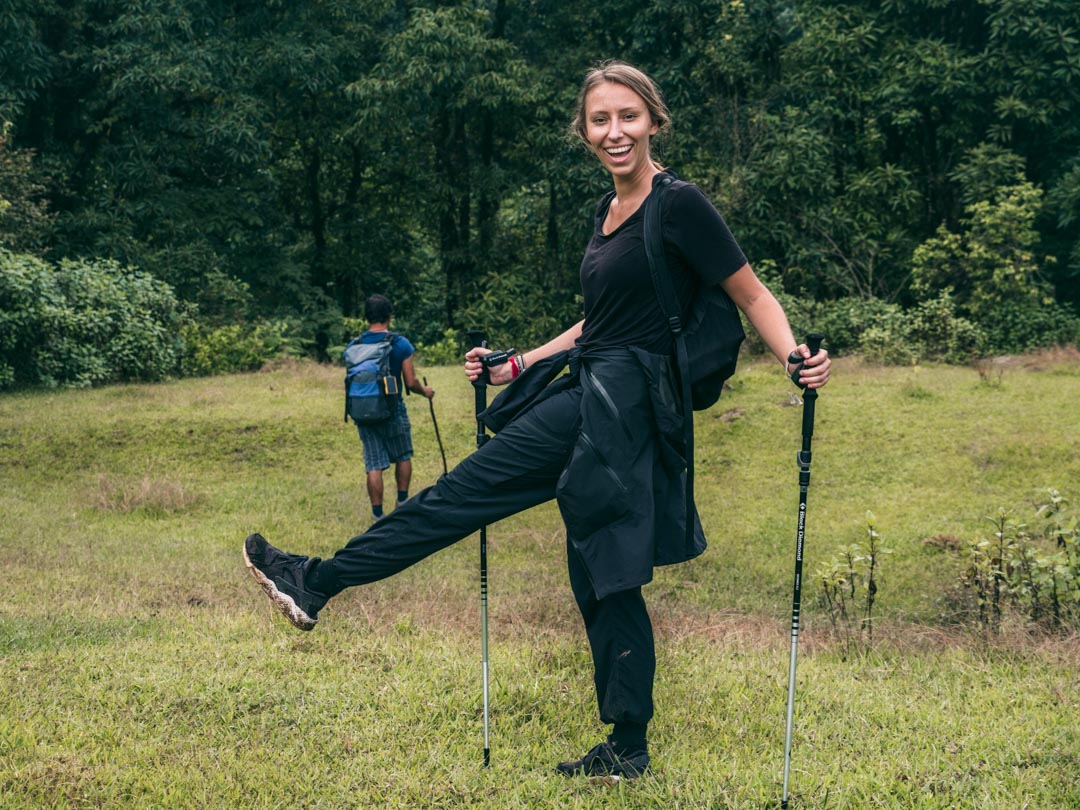
- Trekking poles. Not a necessity but we put ours to good use.
- Sunscreen (adlink).
- Toilet paper.
- Plenty of snacks.
- Refillable water bottles.
- Map and compass or a guide.
- Travel insurance. Never travel without it!
- A great camera (adlink) – here’s a guide to the gear we use.

How to book the Panchase Trek
We booked our Panchase Trek through Gokul at Summit International Travels & Tours in Thamel, Kathmandu.
He helped us book bus tickets for Pokhara on a nice bus, find accommodation in Pokhara and arranged everything with our wonderful guide, Mr. Tek.
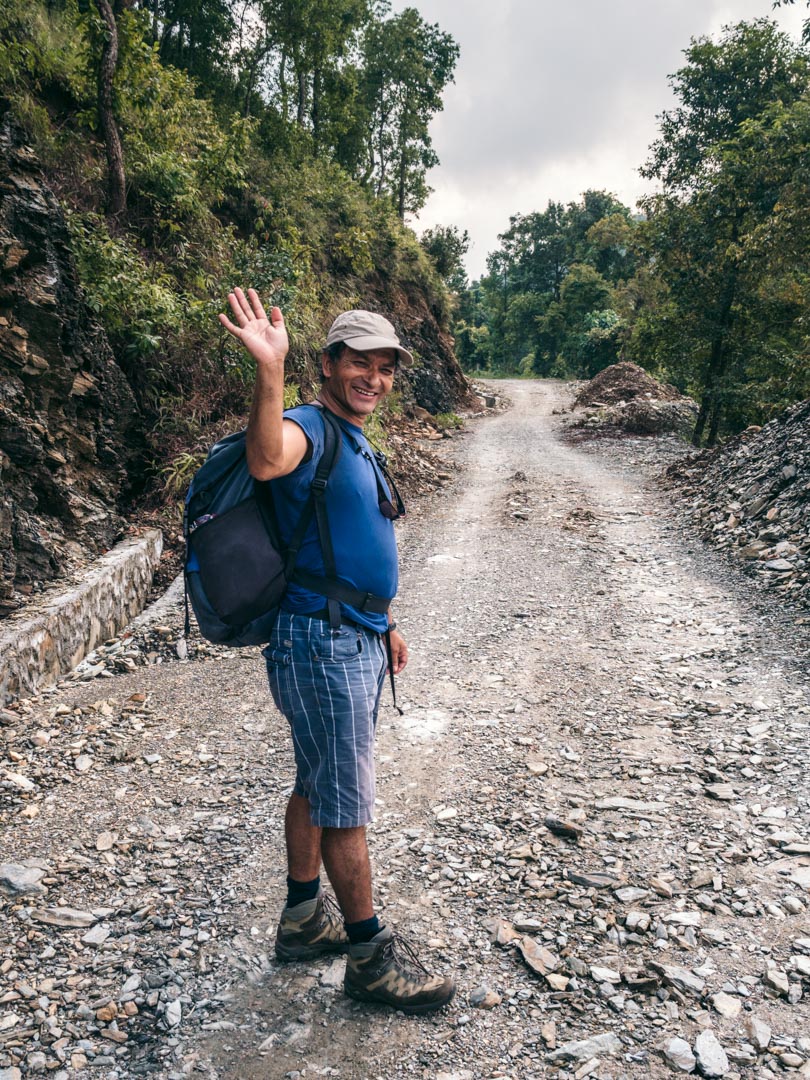
We’re sure that Gokul’s other guides are great as well, but we can definitely recommend asking specifically for Tek if you want a guide who is relaxing to be around, funny, professional and generally amazing.

Minimise your impact
To minimise your ecological impact on the Panchase Trek, follow these guidelines:
- Bring everything back down. Try to avoid leaving any kind of trash on the trek, even in the tea houses. Bring everything back down to Pokhara.
- Take only photos, leave only footprints.
- Be considerate of other visitors. Enjoy the views in silence.
- Respect wildlife.
- Avoid buying bottled water. Bring your own bottle and fill it up with boiled water or use a tablet/pen/filter or similar to purify the water.
Thanks for reading
Thanks for reading our guide to trekking Panchase. We hope it has been useful and that you feel inspired to go to Nepal!
What do you think about the treks in the Annapurna region?
If you’ve been hiking around Pokhara, it would be awesome to hear your best tips in the comments. If you haven’t been yet but would like to, please don’t hesitate to ask away.



Our favourite travel resources:
- Booking.com for cheap hotels.
- Momondo for the best flight deals.
- SafetyWing for travel insurance. We also like World Nomads and True Traveller. All three compared here.
Our camera gear:
- Panasonic GH5. Used for all of our photos and videos.
- DJI Mavic 2 Pro. Best drone out there!
- Sirui Tripod. Lightweight and strong.
- See all of our camera gear here.

 Book cheap hotels
  Find the best flight deals
  Nomad insurance
  Our Camera Gear
 Our Packing List
Great info for this trek! Much appreciated🕉
Thanks a lot – enjoy!